This time of year we get a little bit of everything, weather wise. This past week has held both summer-like temps and crazy thunderstorms. It makes me very thankful that the last two days have been mild and suitable for garden work, because there’s always a ton to do!
Seedlings are on heat mats and under lights in the hoophouse. Tomatoes have popped, but peppers are still incubating.
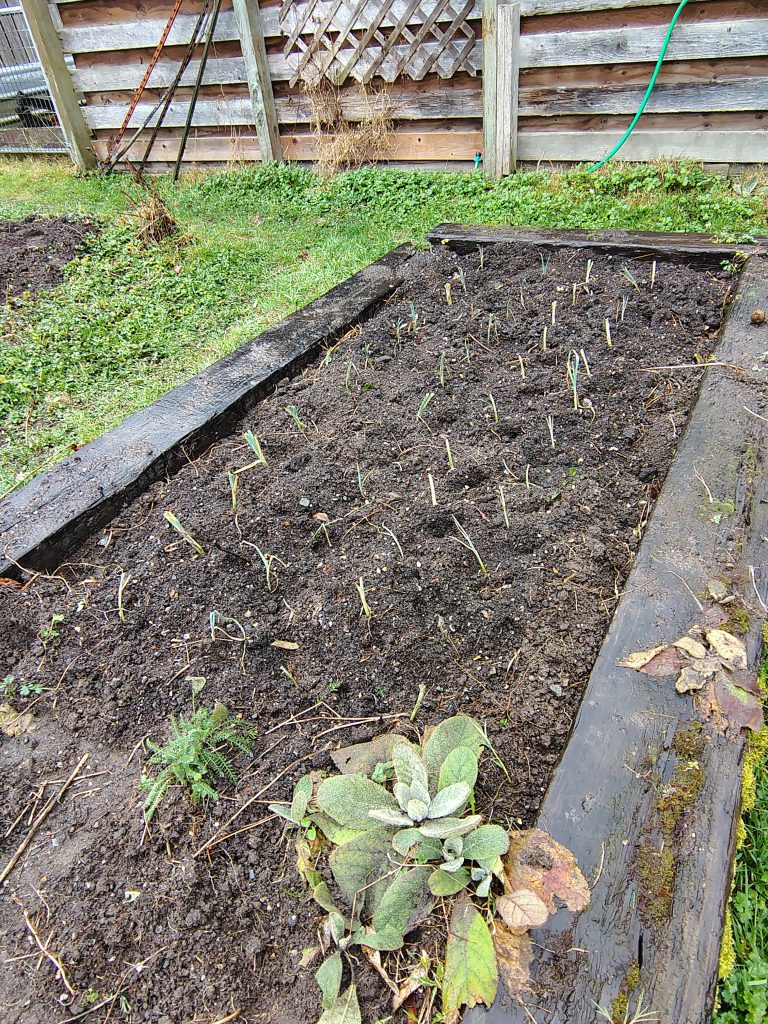
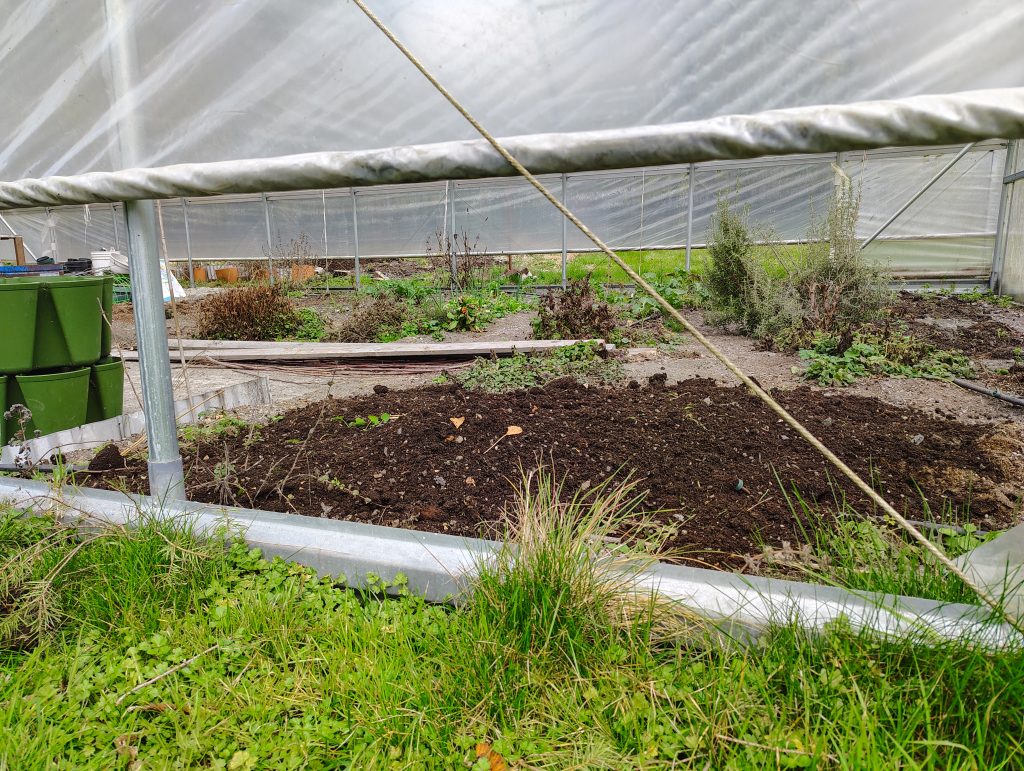
Yesterday I planted out beet, carrot, and parsnip seeds and started cabbages in six pack trays.
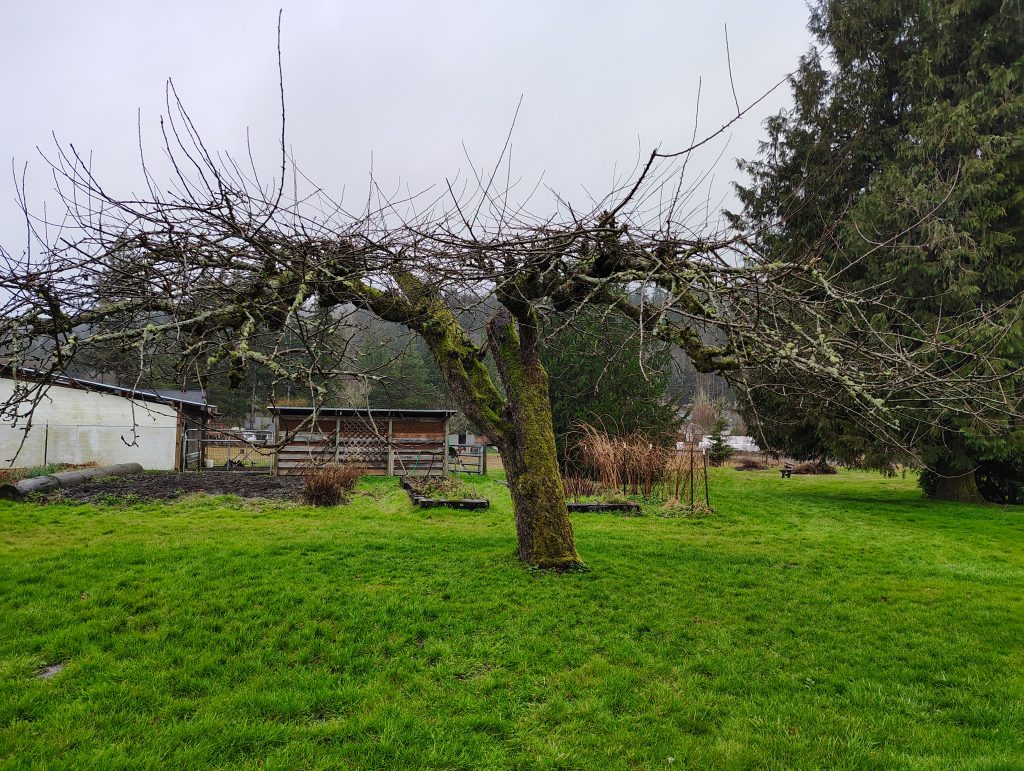
Today I spent some time trying to tidy up the hoophouse- addressing the accumulation of scum (pollen?) on the exterior.
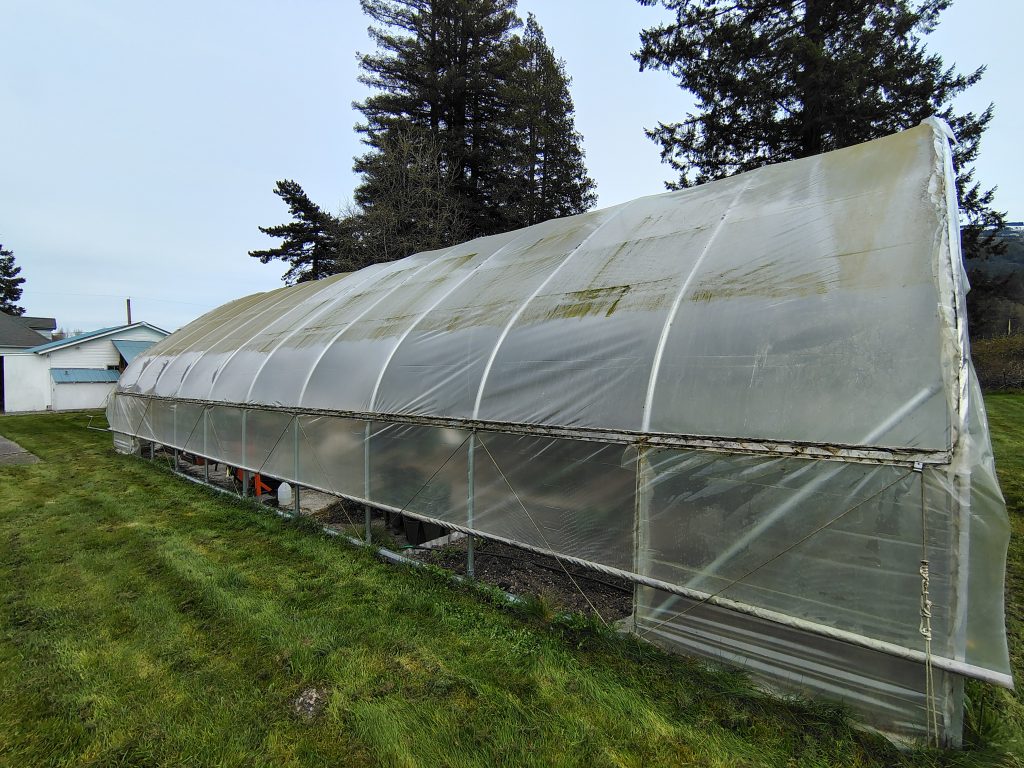
It’s a messy business, and you can see clearly in the photo exactly how far I can reach up the sides without a ladder. I think that if I take a stepstool out there I can probably get a couple more feet before it curves away too far. So that will be phase 2.
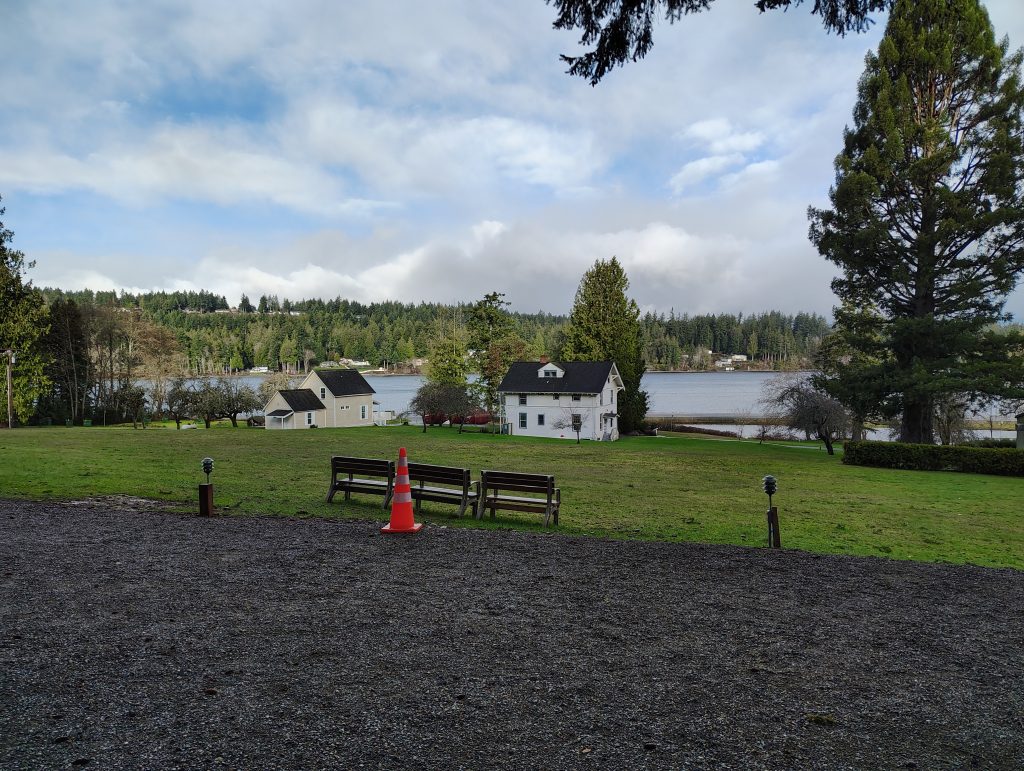
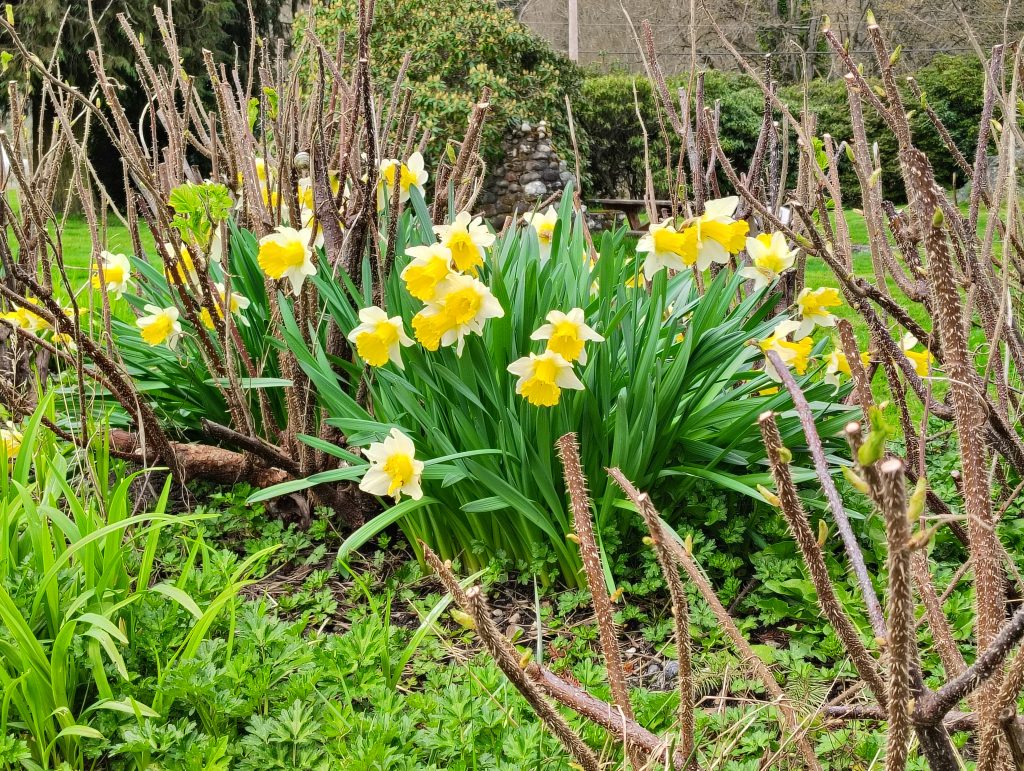
Around the garden- daffodils are looking pretty and perky
And out in the pasture, the sheepy girls are as well-
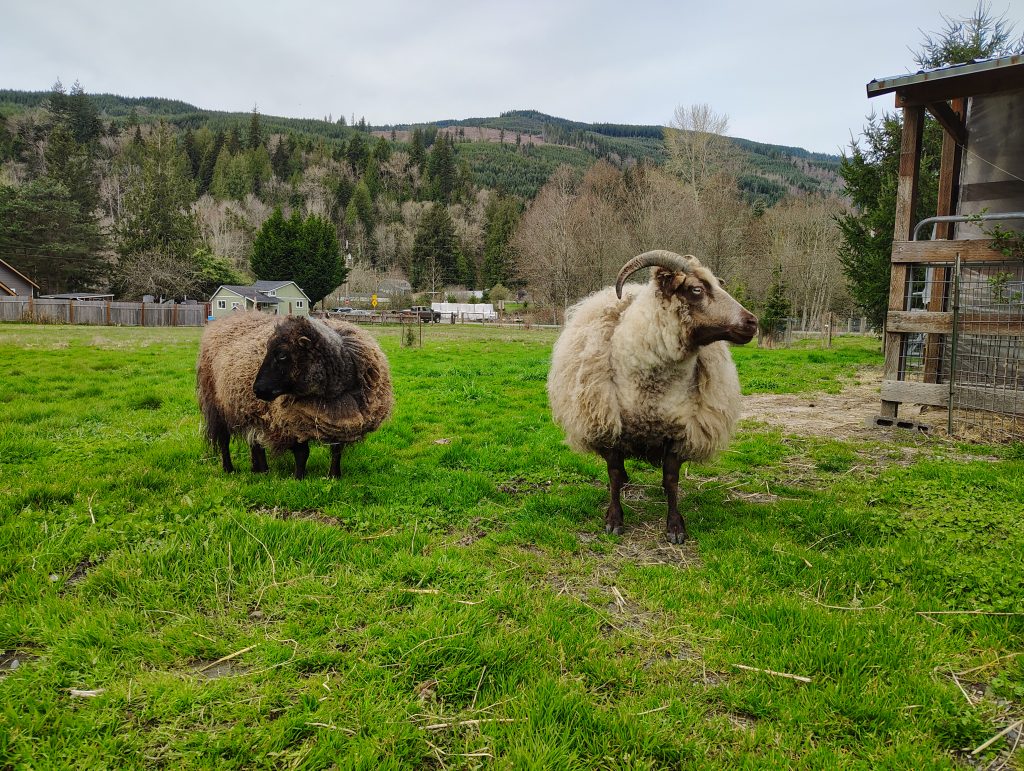
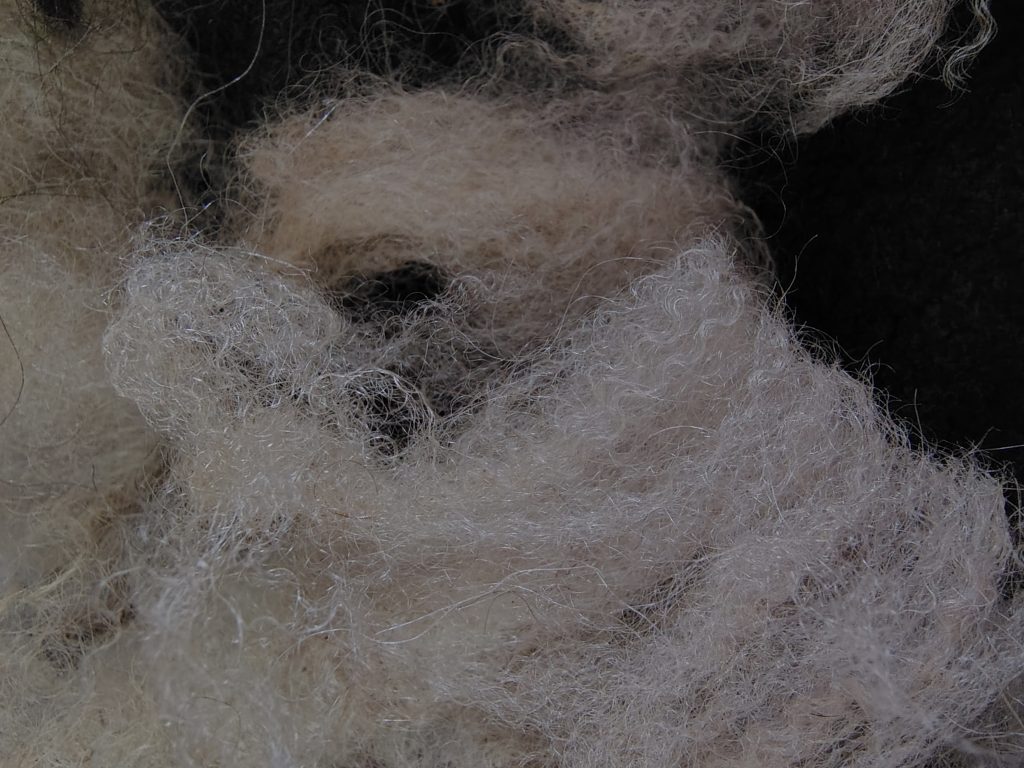
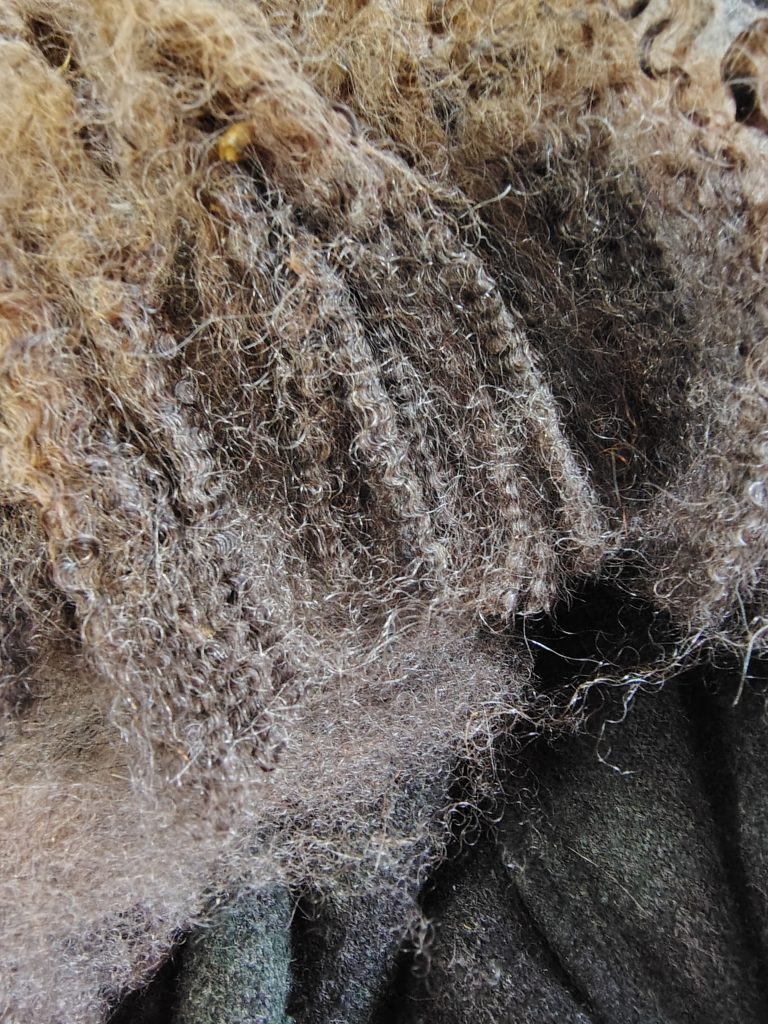
Haven’t had a chance to do any more shearing yet, but hopefully soon.
And- wonder of wonders- I finally have gotten my Esther Candelaria blouse off the needles!
But don’t get too excited yet 😉 – I think I might have screwed up the split cuff on the last sleeve. Hard to tell right now, but the placement of the opening might be off. If it’s too obvious or annoying when worn, I might have to do a little re-knitting.
Even if that is the case, though, I need to start planing a new project. The dark Daphne yarn is kind of calling to me. Will have to take a look at some patterns and see if I can find a suitable candidate.
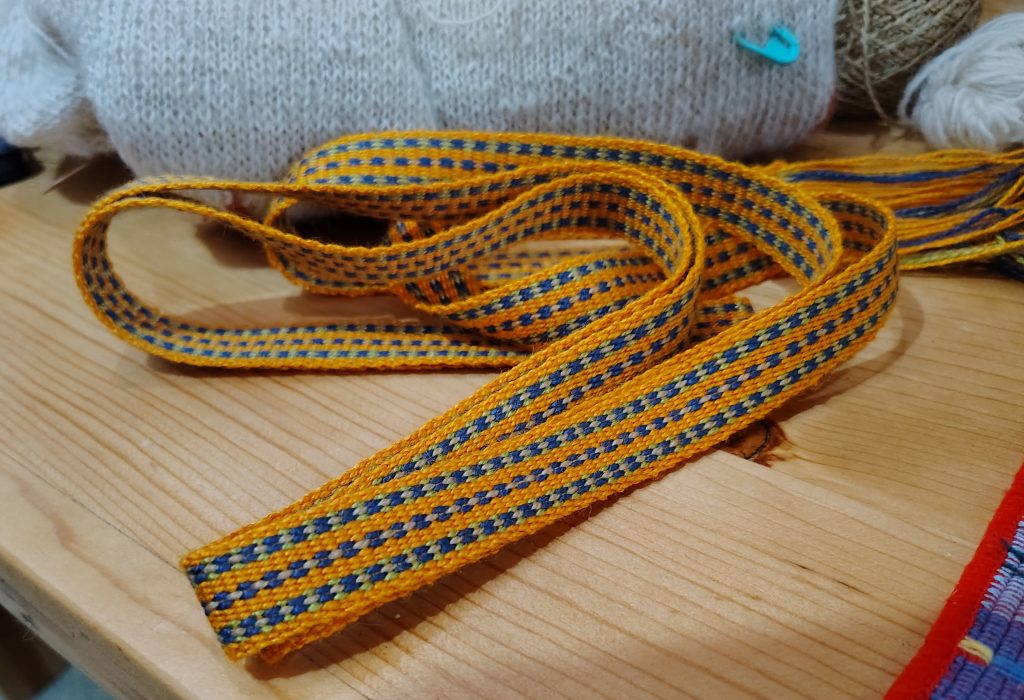
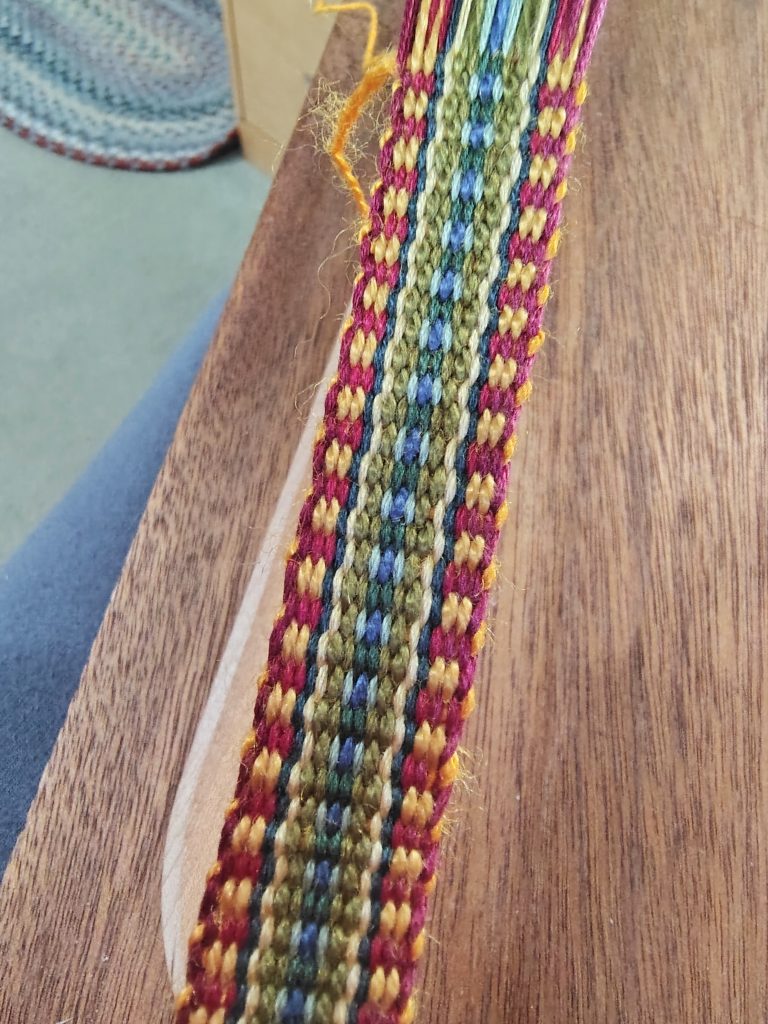
In the meantime, I’ve got another band going on the inkle loom. A combination of embroidery floss and pearl cotton warp, and silk weft.
Also just started looking into card weaving, and happened upon this cool technique called speed warping. Video link here for future reference (https://www.youtube.com/watch?v=PjpiYF4DAbE)
Alrighty- I’m off to browse patterns and contemplate my yarn stash.
Take care, folks.