Sorry I missed y’all last week.
No, we didn’t go anywhere. We had company!
Yep. Had the Mom out last week to visit.
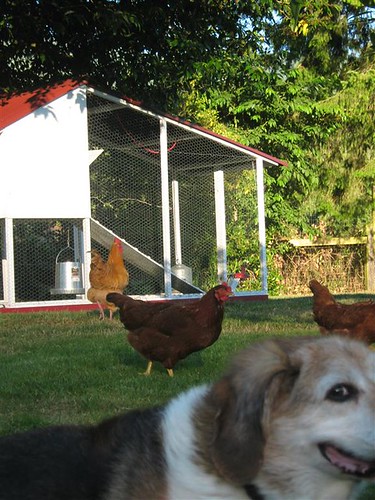
I have to imagine it was a little bit of a culture shock, leaving her comfy condo in the Chicago suburbs to come and hang here with us and all the critters out in the backwoods of Western Washington. But she took it all in good humor, and seemed to enjoy the antics of Clara chicken.
Here’s a for-instance: Clara is in her favorite spot- giving a whole new meaning to the term “chicken tractor”
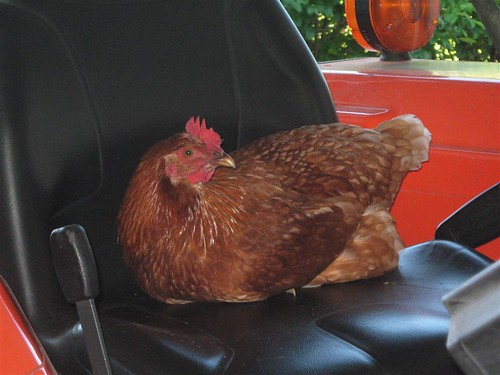
(Clara has chosen the seat of the Kubota tractor as her nesting spot. And she looks so sweet sitting there that we’ve decided that’s ok with us) 🙂
While mom was here, we took a field trip to Anacortes for their annual Art Festival, where there were really quite a lot of really nice ceramics, glass, photography, etc etc. Not a whole lot of fiber art representation, but I did find (and purchase) this lovely handwoven blanket:

It was woven by a man named Chule, who is originally from Macedonia.
(We went a bunch of other places too, but sadly, the weather wasn’t great and I didn’t think to take pictures.)
Since Mom returned home mid-last-week, we’ve pretty much gotten back to our normal routine.
Yesterday I helped John, from Marietta Shetlands, show a couple of his ewe lambs at the Skagit County Fair.


That was a good time. Love hanging out with sheep and Sheep People.
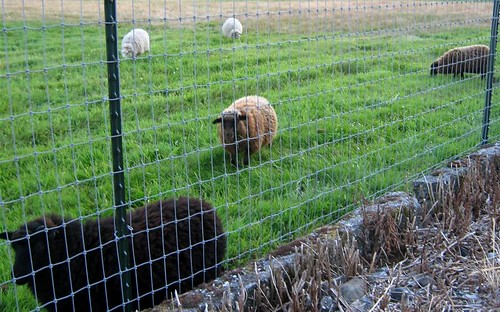
But then this morning, I went out to visit with my boys and noticed that Griff has a limp. Clearly something wrong with his left front leg, and he looks a bit of bloated on the right side (?). But we can’t get any closer than about 20 feet.
So, we’ve spent a good portion of today trying different strategies to catch him up.
All to no avail.
We even had someone bring a dog over that, while untrained, has some good herding instincts.
That was kind of interesting, and most of the other guys were pretty amenable to her guidance,, but Griff seems to be a tough case.
Even on three legs, he is pretty quick and springy. Somehow he seems better able to run than walk. I don’t understand that at all. And so he is still out in the pasture, alternately hobbling and resting.
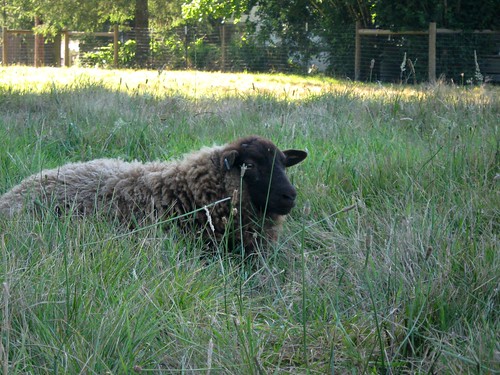
I really hope that whatever is ailing him will resolve itself with time and rest, because it doesn’t appear that he will let me help him. 🙁
On the up-side, Stash Abatement continues apace.
Exhibit A, more squishy shimmery navajo plied Huey yarn.

Exhibit B, white mystery wool “handpainted” (ha!) with red food dye and Wilton’s paste frosting color

Have a good week!
Denise