
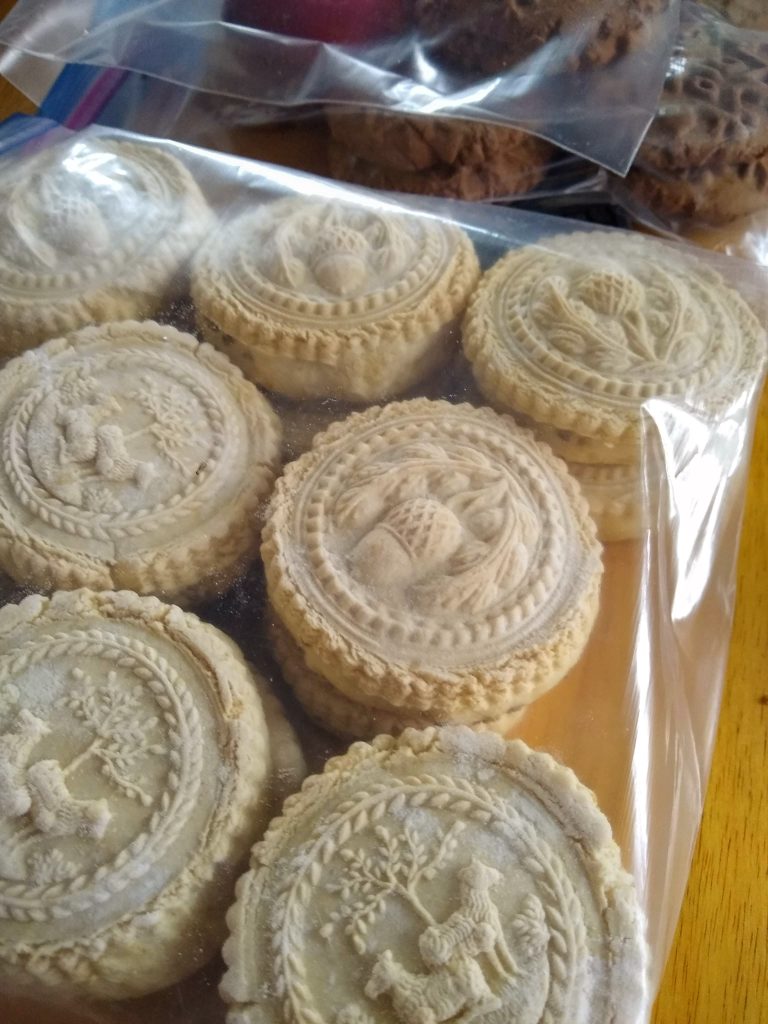
Been off work this week, and my main goal was to do a bunch of Christmas baking.

But somewhere along the way, I finally felt motivated to re-warp my floor loom. It kind of hit me all at once, and I was compelled to act.
It had been quite a while since I’ve had a warp on. Looking back through the blog, is it possible that the loom has been sitting idle since 2017? Geez. Time flies!
Since I hadn’t done any warping in a long time, I had to refresh my memory on the process. And sadly, the video I found so useful the first time I did this (back in 2013) is no longer available online, so I had to find some other resources.
I was glad to have the photos I took of the different steps last time as a general guide, but I hadn’t documented all the bits, and so needed to fill in some gaps. A bit of searching turned up this video from the Woolery, which was a big help.
I had already wound the warp
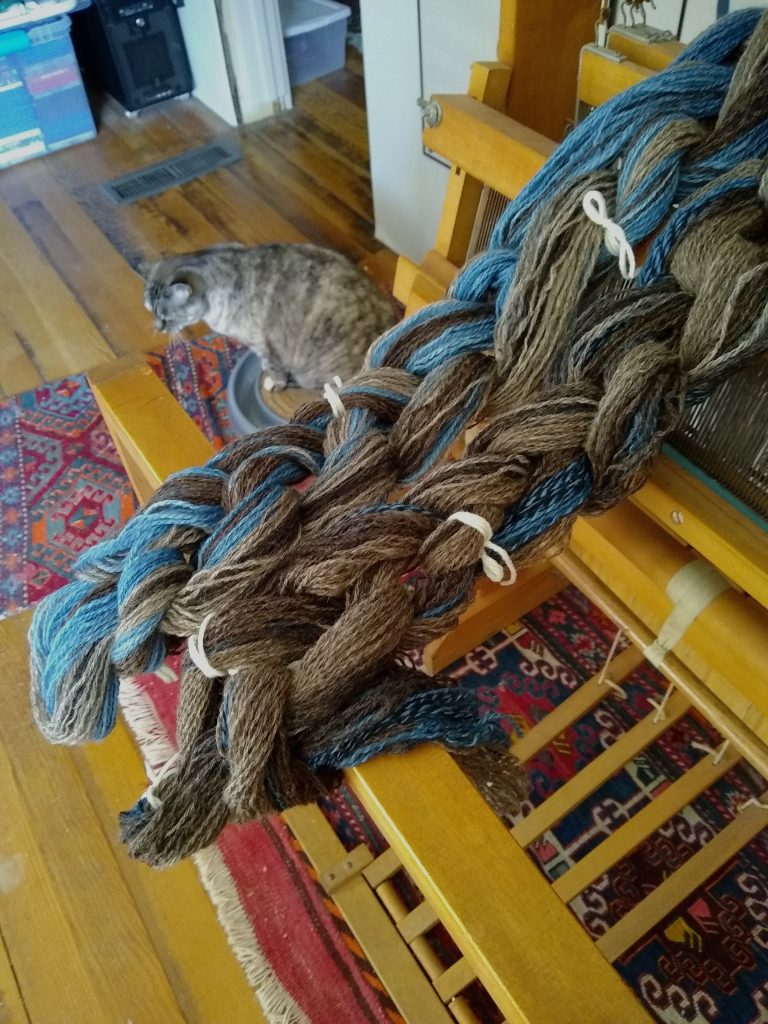
and rough-sleyed the reed before I found the video.
If I’d found the video sooner, I could have saved myself a little time and backstrain by rough sleying the reed off the loom since that bit is removeable. Such a smart idea. Will plan to do that next time.
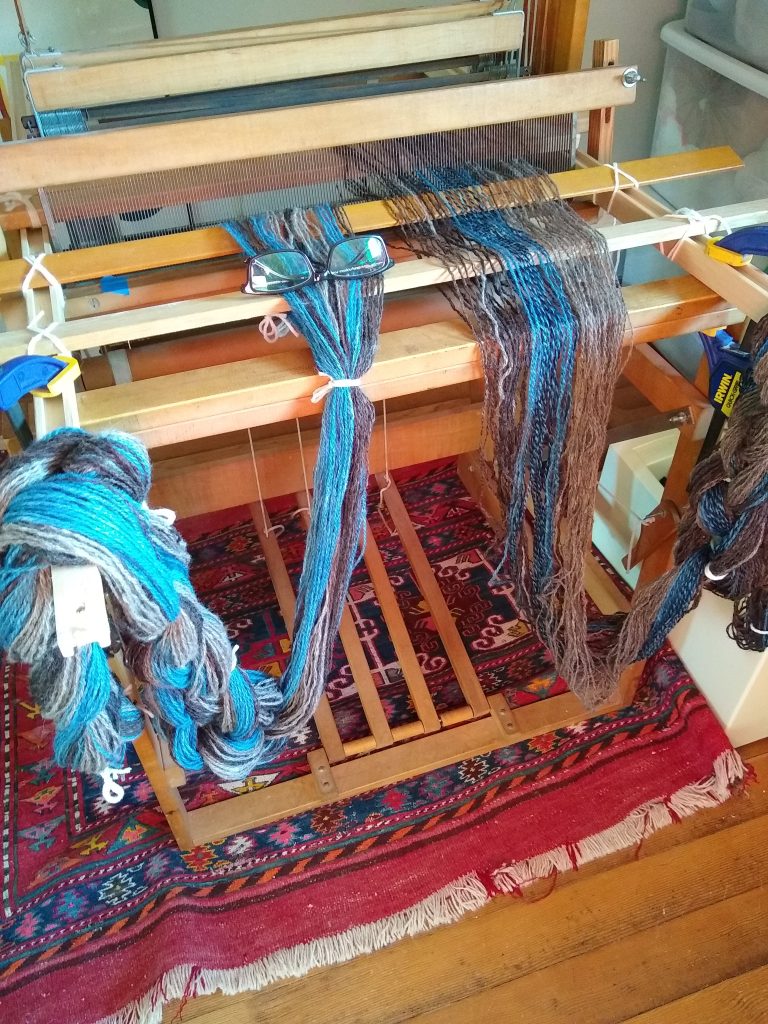
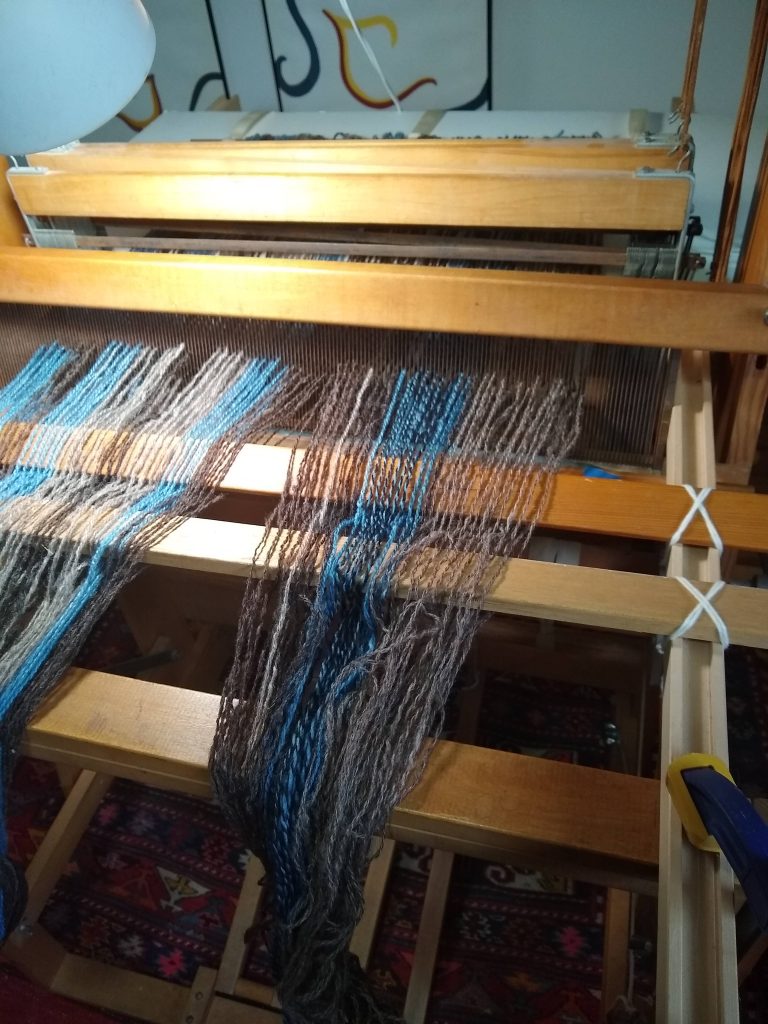
I used a front to back to front type of process to get this warp on, which was pretty manageable for be doing it alone (with help from a few props- wood elements of a deconstructed quilt stand, clamps, foamcore board, lease sticks from reclaimed molding).
After winding and securing the warp in a chain, I prepped the loom by placing the long wooden rails from the quilt frame from front to back on each side and clamping them to the front beam. These provided a base upon which I placed the lease sticks that are held the cross in the warp (tied them down so they stay put)
In pre-sleying the reed, I didn’t cutting anything- just pulled each loop through the reed, distributing strands across the whole planned width.
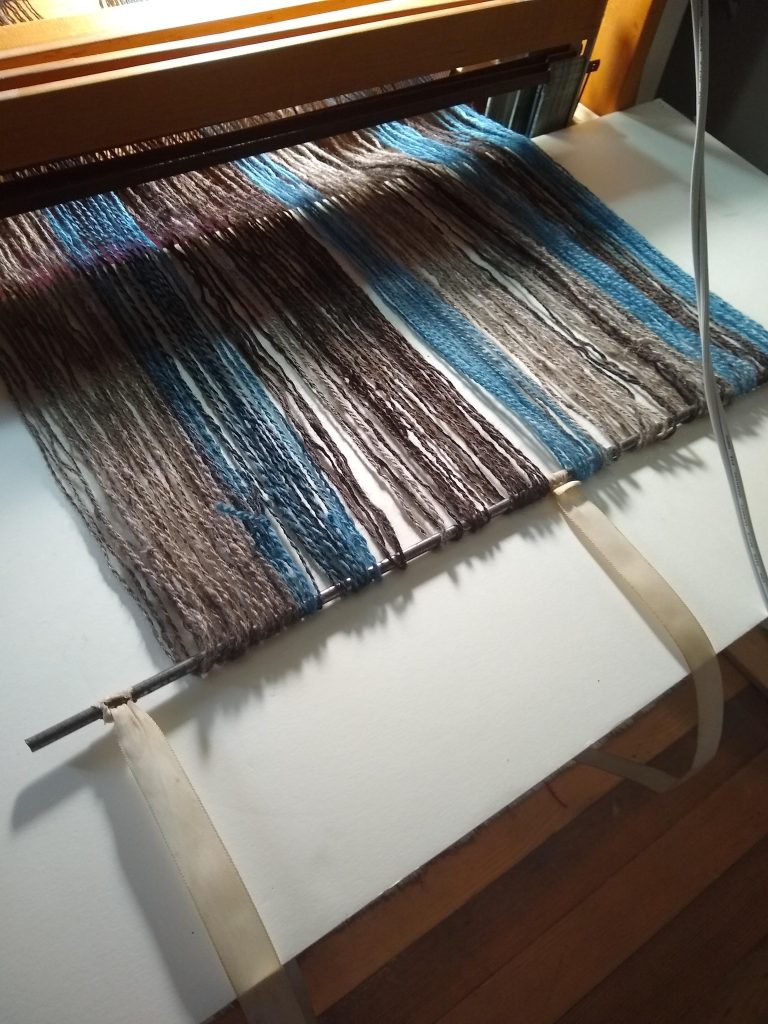
Then I removed the foam core and put a little tension on the warp so that it wouldn’t flop around.
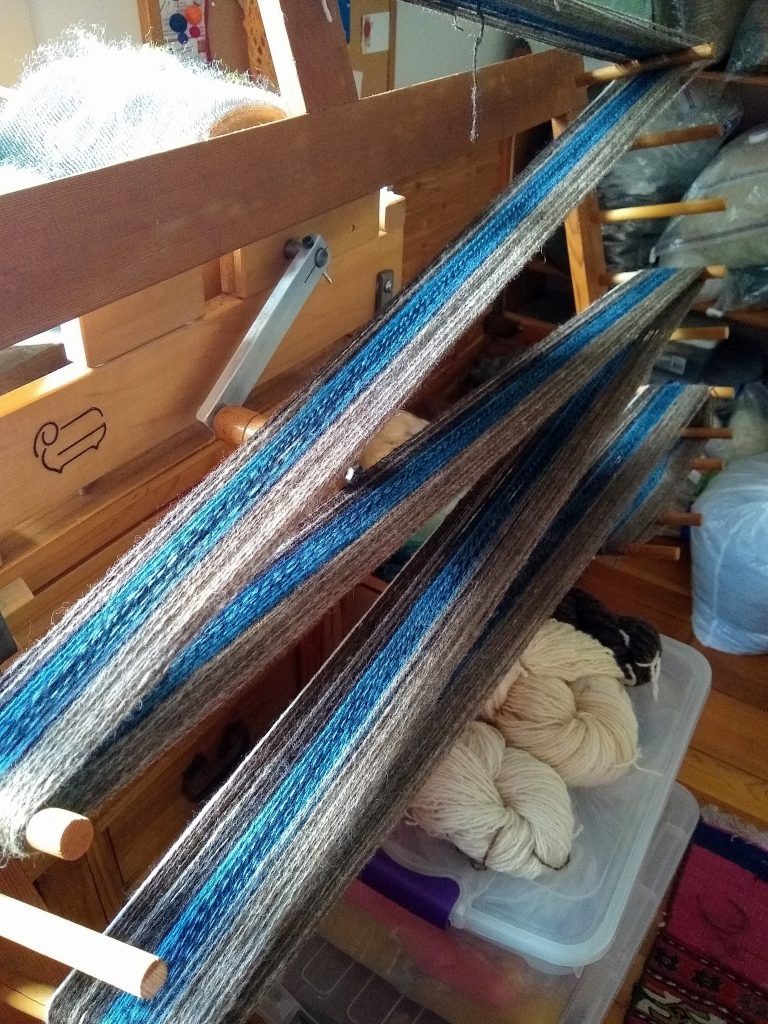
So then I was ready to beam the warp.
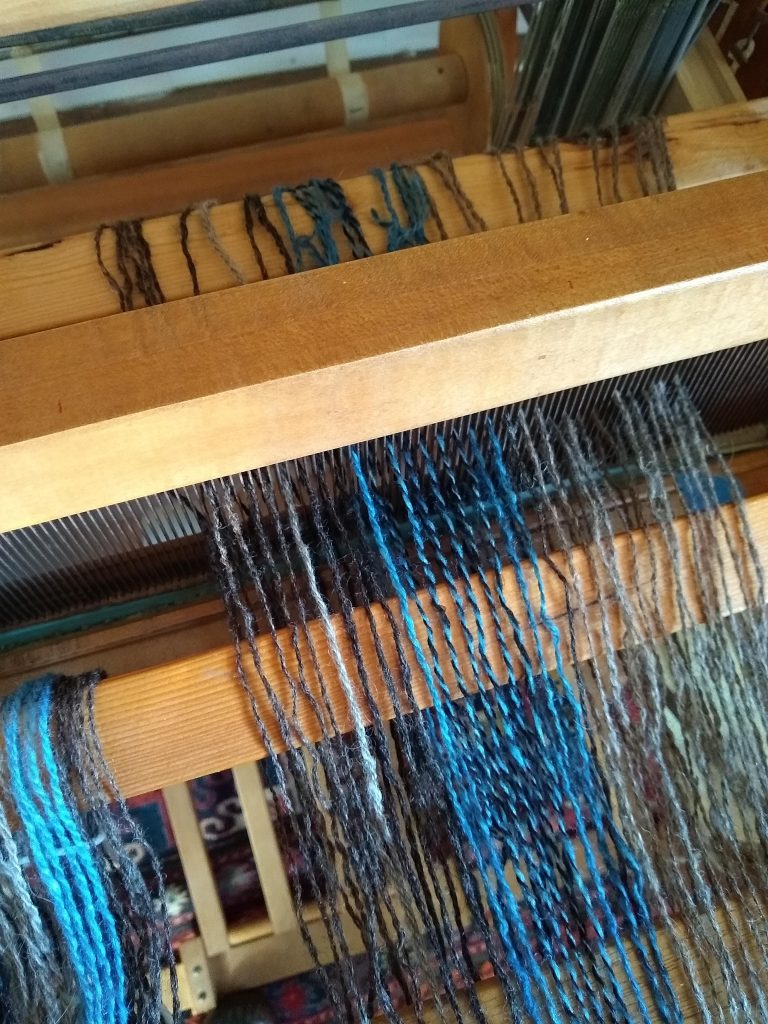
Front the front, I unchained the warp a bit at a time and gently snapped it and combed it with my hands to keep it even and untangled, and then held it with one hand out to my left while winding it on with the crank at the back right side of the loom. The two lease sticks holding the cross and the reed helped to keep the warp orderly and evenly tensioned as it was winding on.
Once there was a foot and half left in front of the reed, I stopped winding and loosely tied off the ends to keep them from escaping. Then it was time to transfer the cross in the warp from the front to the back.
Sorry, forgot to take a picture of this bit. But basically, I turned the lease stick closest to the reed on edge to create a shed, and inserted another thin piece of wood through the shed on the back side of the loom, then removed that lease stick from the front. Then I repeated that with the second lease stick. And voila! Cross moved to behind the shafts.
(that photo is actually from later on, once the heddles are threaded, but you get the idea). The reason you need the cross at the back now is because you need to make sure that the warp threads are in the correct order when you are threading the heddles and sleying the reed (for real).
Notes: Heddles- if you are working left to right, make sure that you have enough heddles held off to the right side to accommodate whatever proportion of your total warp threads your pattern calls for! And re: reed, good idea to mark total planned width with painters tape on reed to ensure that warp is centered.
In order to do the threading and sleying, you now need to cut the loops on the loose ends at the front of the loom and pull them through the reed (which is totally safe to do now that the cross is secure in the back)
Fast forward through slow and tedious threading and sleying (and also double and triple checking the threading).
Once you’re satisfied that the threading and sleying is right, it’s time to remove the lease sticks from behind the shafts and secure the cut ends to the rod at the front of the loom, taking care to ensure that the threads are evenly tensioned.
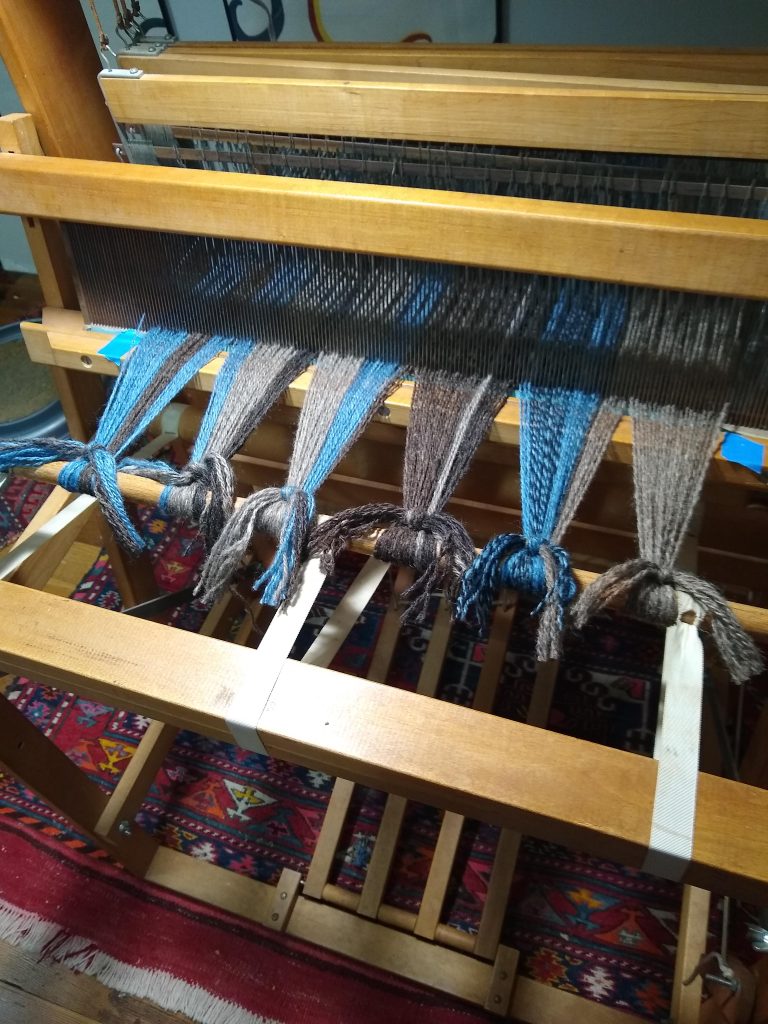
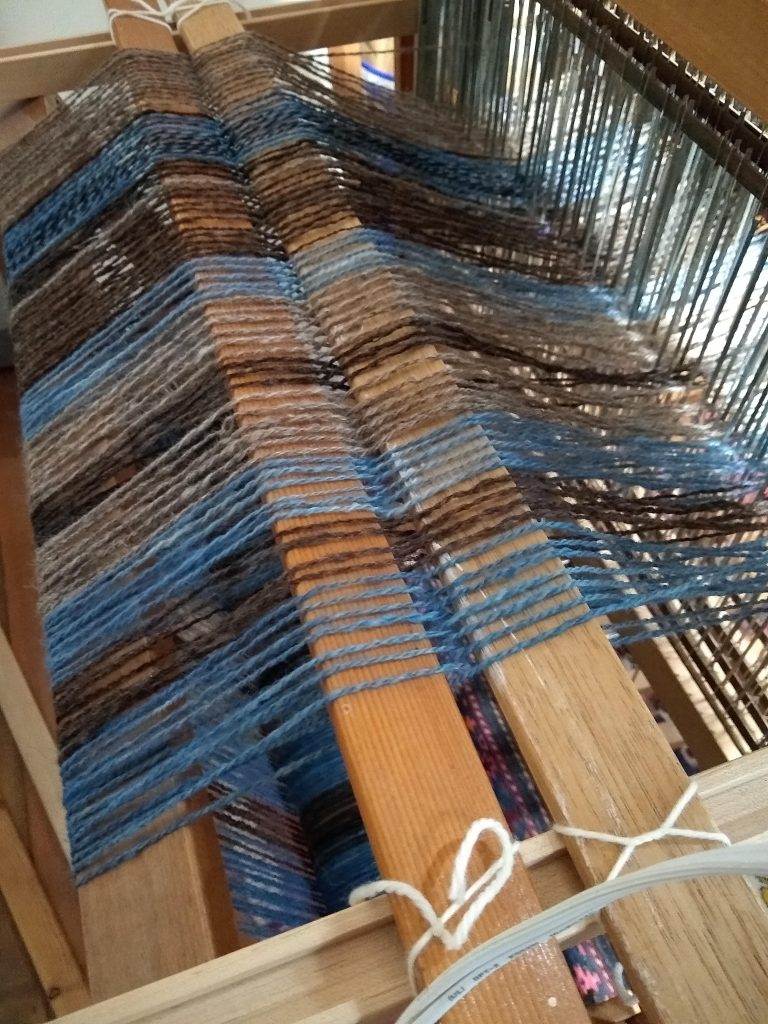
and here is the view from the back
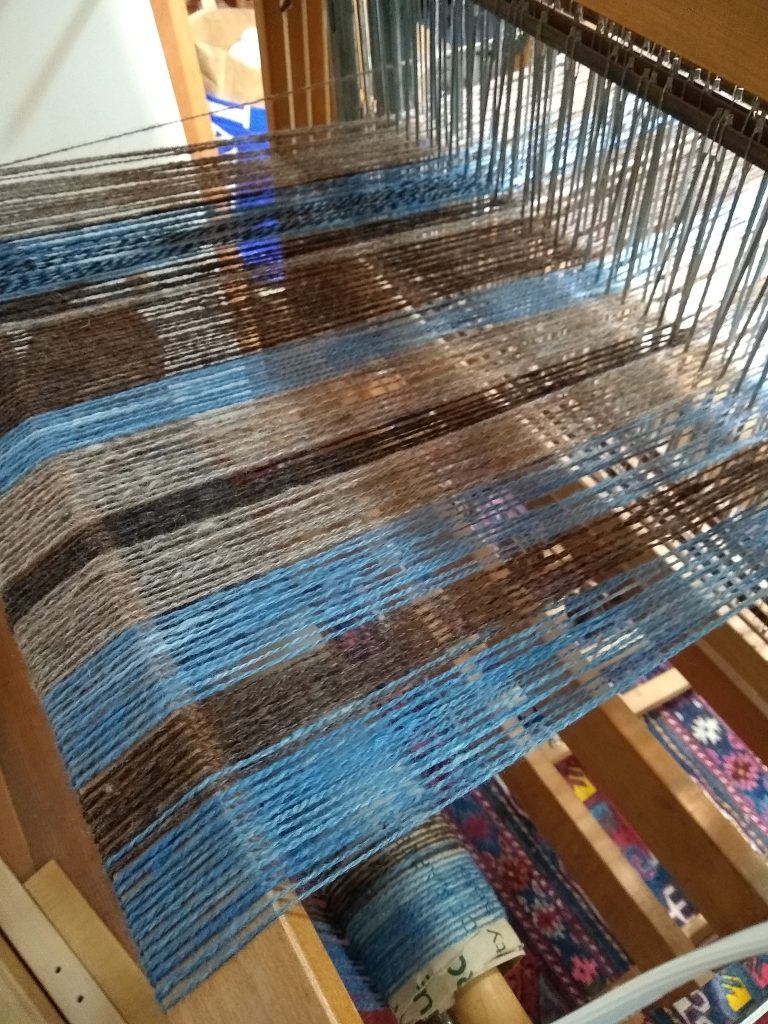
After advancing the warp a bit past the breast beam, I’m finally ready to weave!!

Feels really good to have the loom dressed again. I’ve got about 4 yards to play with different colors and patterns. Should keep me busy for a bit. Will figure out what what to do with the fabric at some point later.
Have a great week folks!
You and your fiber pursuits are always inspiring!
thanks Michelle- wishing you and yours a very merry Christmas!
Your cookies are beautiful Denise. You make the weaving look easy but I know there is so much involved. On my bucket list to learn someday….hopefully I live that long.
thanks Jody- the warping thing can seem a bit daunting. and I don’t do it often enough to become very proficient, but I do love seeing how my handspun looks worked up into woven cloth. So many crafts, so little time!
Good job getting the warp on the loom. That is always the limiting task for me. After that it is gravy.
thanks Donna- yep, warping is kind of a fussy business, but the weaving is so fun 🙂