Category: Uncategorized

The Return of the Experimental Sweater

Once upon a time, there was a scarf.

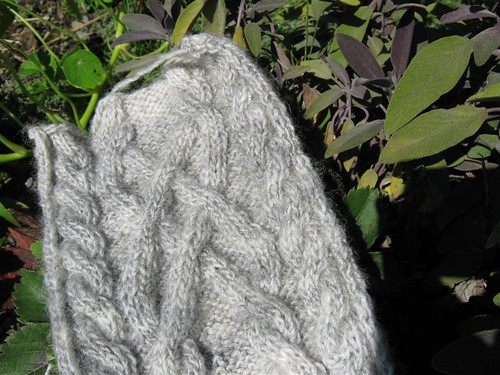
IMG_0124 (Medium)

It was a soft gray, handspun Shetland scarf with a cable panel that repeated over its length, and it was a lovely accessory (“Tilly”, from A Fine Fleece).

But somehow when I finished it, the scarf didn’t seem to be done. It struck me as a big shawl collar with no sweater attached. So I set about building the sweater onto it. The cabled shawl collar needed a  generous, swingy sweater that would enfold its wearer in wool.

I picked up stitches along its edge and knit raglan shaping that curved the scarf around into a shawl collar. I started with a silvery blue Cotswold-Ramboullet X wool as an accent, and then turned to a dark and silvery LincolnX for the bulk of the project.

IMG_0372 (Medium)

IMG_0370 (Medium)

The LincolnX ran out about the time that I finished the fronts and the back down to the shoulderblades.

IMG_0385 (Medium)

It was at this point that I made the tragic miscalculation. I chose a yarn that was too heavy, and knit on. I was so anxious to finish and wear the garment that I knit on blindly and with great enthusiasm, disregarding my gut feeling that the garment was architecturally unsound.

IMG_0466 (Medium)

I actually finished all of the (considerable amount of) knitting before I realized the magnitude of the mistake. It was too heavy on the bottom. No amount of fudging after the fact was gonna fix that. It hung like a wet towel.

I put it away for a while. I could not quite face the sweater for some months.

But I am not one to leave projects unfinished, so finally I summoned the strength to do the necessary ripping out.

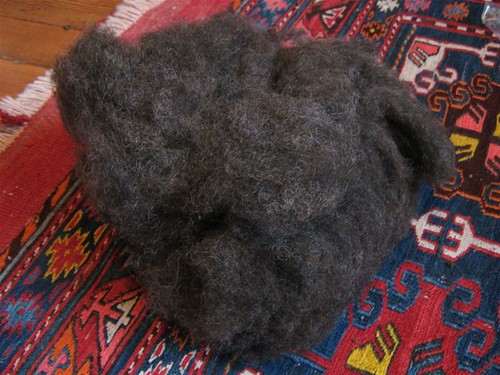
IMG_0714 (Medium)

Then I set about spinning a new batch of Border Leicester (2 ply this time). And I took another run at it.

IMG_0717 (Medium)

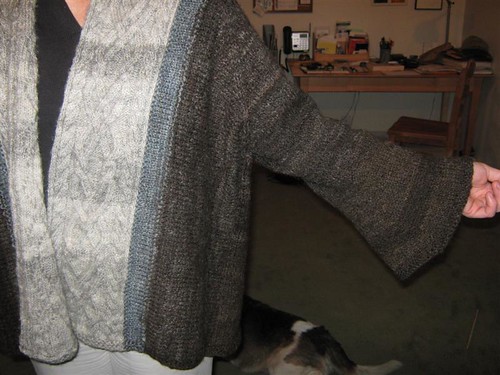
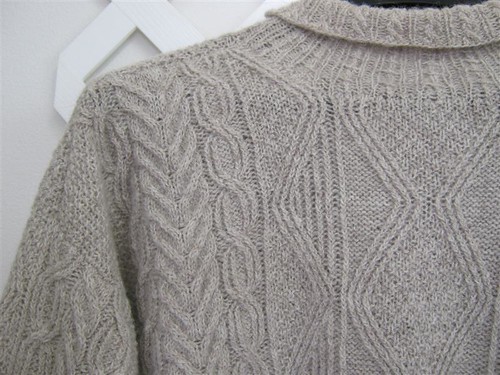
Now, at long last, I am very pleased to introduce the Experimental Sweater. (please disregard the background clutter)

IMG_1447 (Medium)

IMG_1445 (Medium)

IMG_1442 (Medium)

Many thanks to the gray Shetland scarf who made this adventure possible.
The Week in Wool-

In the wake of completing The Man’s socks  on size 1 needles, I felt that I needed to switch things up a bit. I needed to do something BIG.

It seemed like a good time to pull out the chunky peruvian wool.

IMG_0745 (Medium)

Here it is with Bruno for scale (and because he’s such a cutie).

IMG_0741 (Medium)

The wool decided that it wanted to be a scarf. And since it’s so thick and dense, I figured it could use a little lightening up, so I chose an easy lace repeat, picked up the size 10 1/2 needles and off we went!

I can’t tell you how much fun it was to see this come together. It just flew!

Scarf blocked detail

It flew so fast that I didn’t even think to take an in-progress shot. So, here we are at the blocking (and kitty inspection) stage.

Scarf bocked with Boo edited

Still trying to decide if it needs some sort of fringe to finish it off….
What do you think?

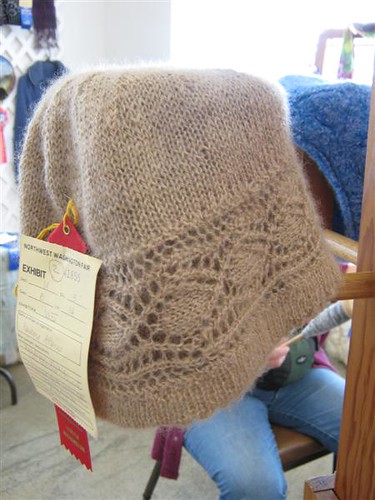
In other woolly news, I was able to squeeze in a brief visit to the NW Washington Fair last week- here are some of the highlights:

First, the Wool Show-

IMG_1342 (Medium)

IMG_1344 (Medium)

IMG_1346 (Medium)

IMG_1347 (Medium)

IMG_1348 (Medium)

IMG_1349 (Medium)

And then the sheep:

Dorset cross?

IMG_1358 (Medium)

Navajo Churro-

IMG_1360 (Medium)

Romney-

IMG_1365 (Medium)

Ps.

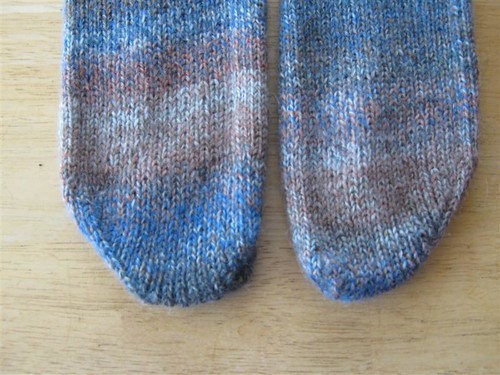
For those of you who are interested, here’s a quick rundown on how I did he toe shaping for this most recent pair of socks.

It’s pretty simple. You don’t start the toe shaping as early as with some other methods.  Keep knitting the foot straight until you get to just shy of the tip of your (or the intended recipient’s) little toe. At that point, start decreasing (but only on the little toe side). To ease the curve, decrease every other round 3 times. From that point on, decrease every round until you have only half your original stitches left.

Then start shaping the big toe side (while you’re still continuing the decreasing on the little toe side). Again, decrease every other round for the first few, then go to every round. Stop when you have about an inch or and inch and a half worth of stitches left and kitchener the toe together.

Ta Da! A sock that is actually shaped like a foot!

Goldi-locks, Custom Socks, etc.

First, the goldie- locks

IMG_1334 (Medium)

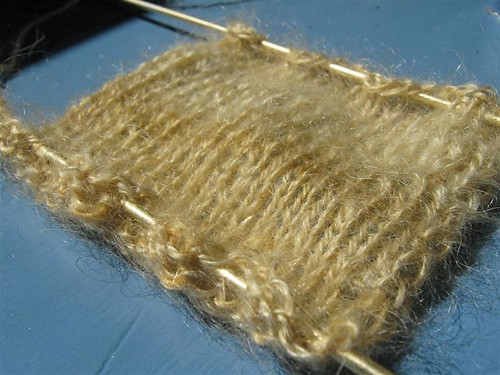
I really should have taken pictures of the actual locks before I teased them apart. They were gorgeous! I got this beautiful mohair at the Midwest Fiber and Folk Art show when I was back in IL last month. Here it is spun and knit up (because I do so love to swatch!)

IMG_1317 (Medium)

Guess I didn’t even realize that there were blondie goats!

And I did finally finish The Man’s socks.  These socks are outfitted with custom right and left foot shaping, to make the toes fit just right.

IMG_1325 (Medium)

and a Denisee-standard heel,

IMG_1328

as well as plenty of 1×1 ribbing, to make them nice and stretchy and form-fitting.

IMG_1331 (Medium)

On other fronts, spinning continues apace for the next sweater project.

And my new quality control inspector insists on being present for all steps in the process, so it might take me a little longer than usual, but I’m sure the results will be truly feline divine. 🙂

Spinning with the Kitty