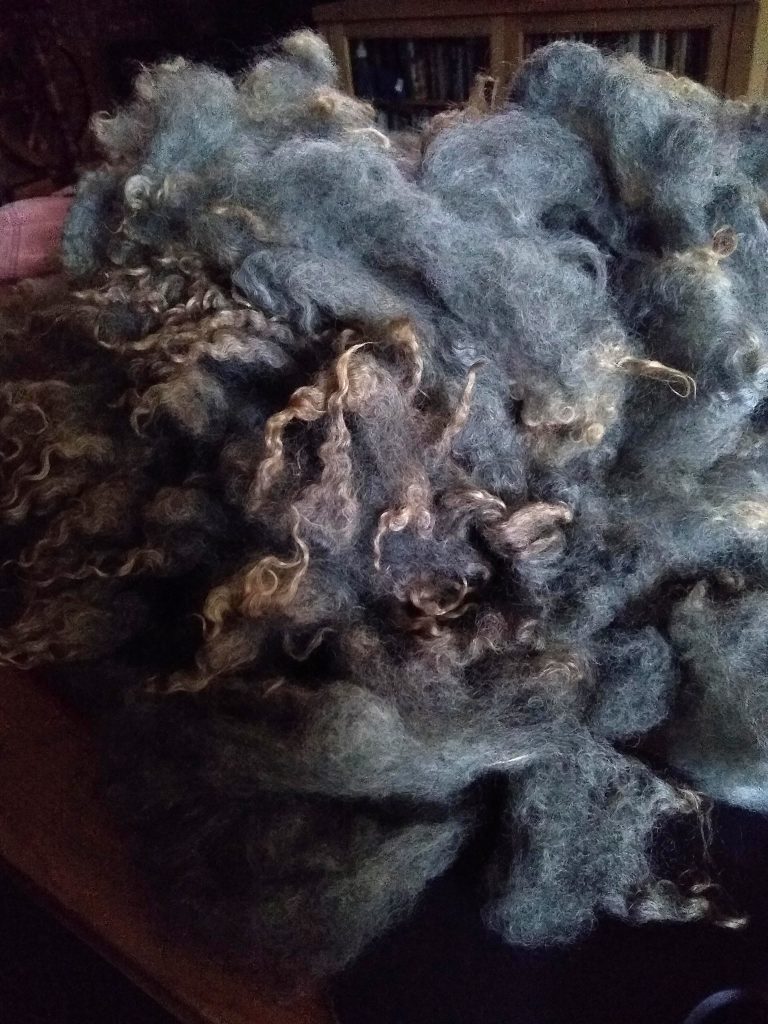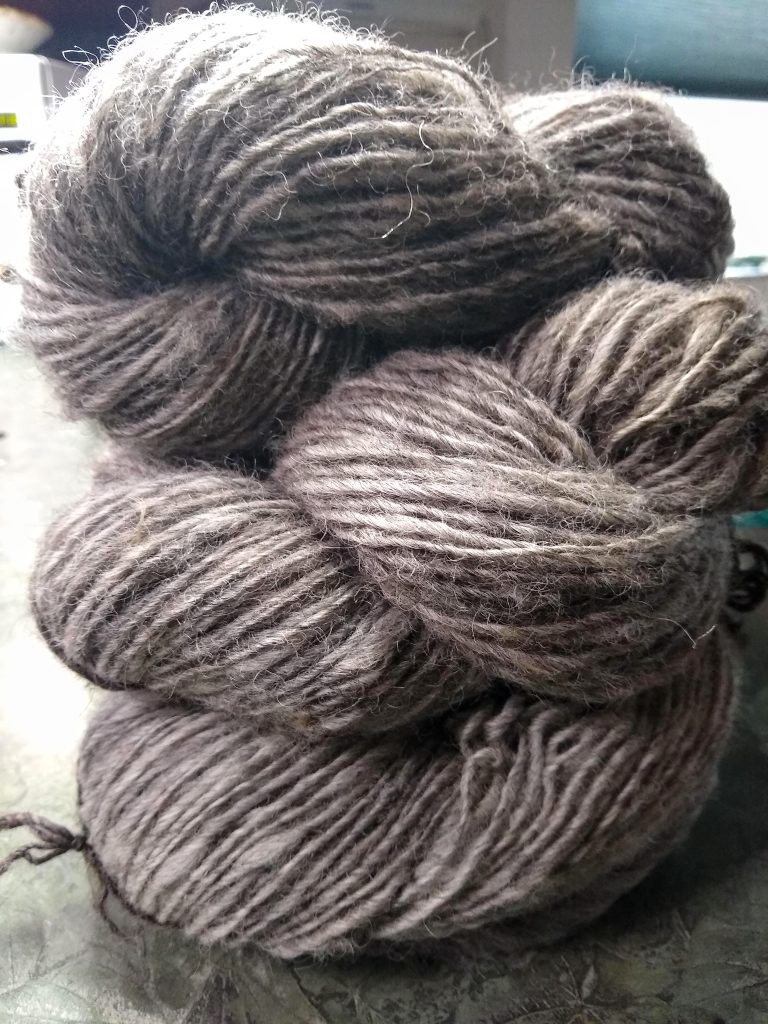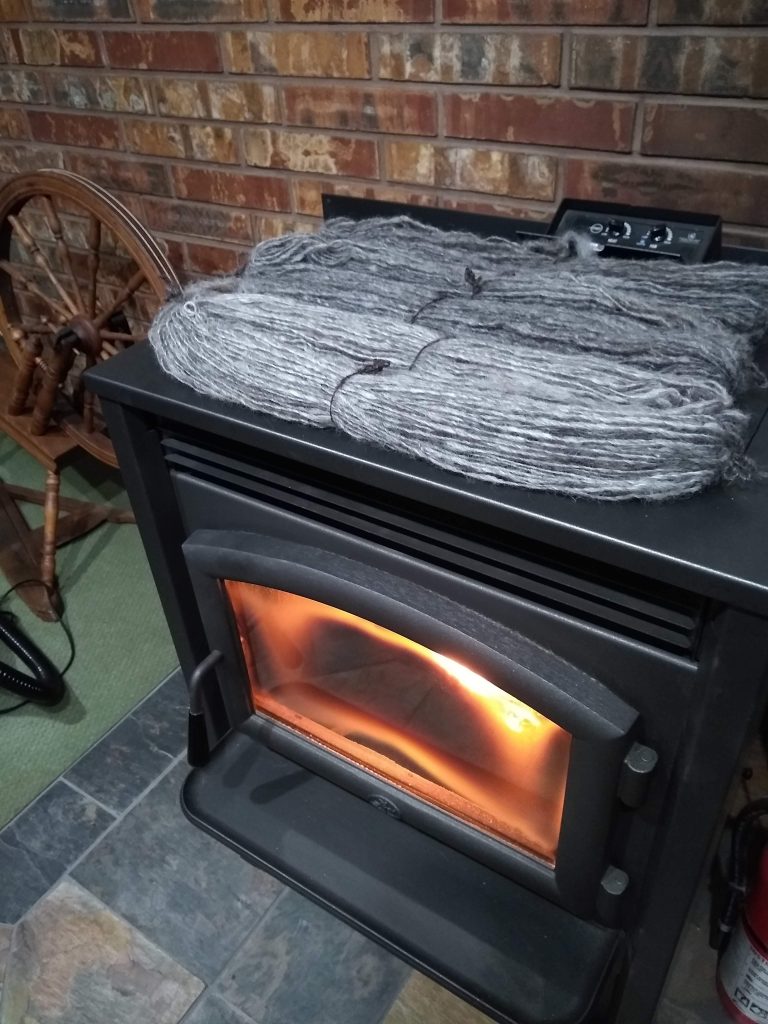
A couple posts ago I mentioned that I was busily carding up Dottie’s 2022 fleece and spinning it up into DK-ish singles.

I’m still at it (haven’t been able to quite keep up the pace I set early on) but I do have a sweater project idea coming into focus. Was originally thinking I’d make it in her natural silver, but yesterday I got the dyeing bug.
I made up a set of little mini skeins (about 15 yds each) and pulled out some food colors to play with-
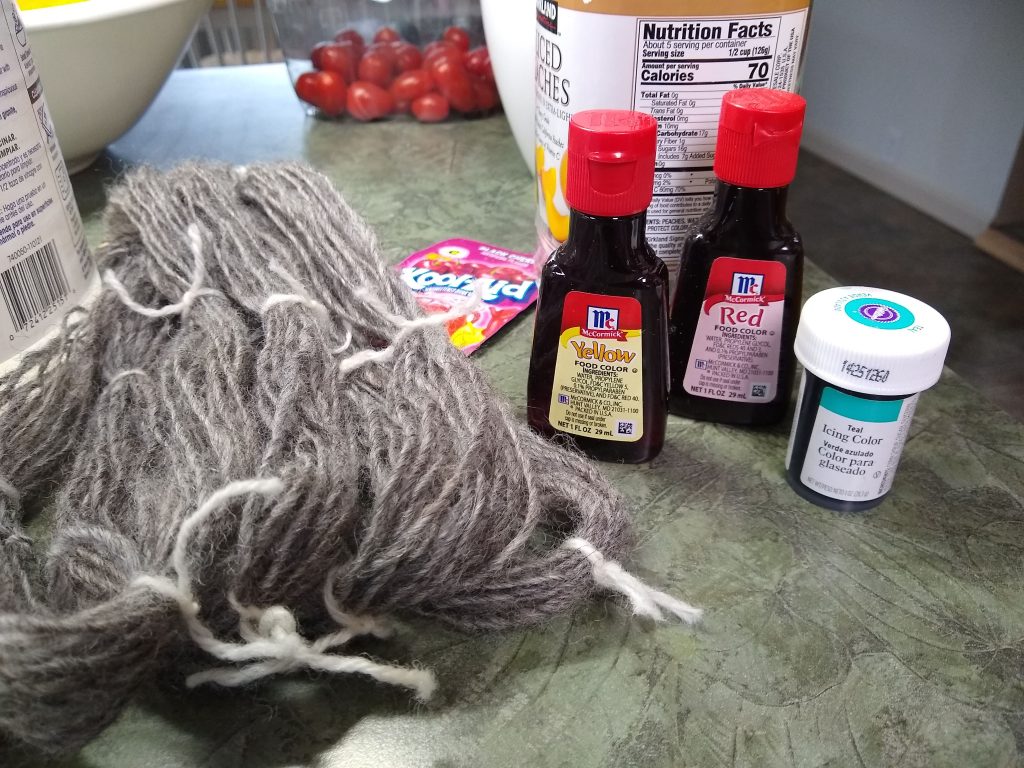
And within 10 minutes- they looked like this
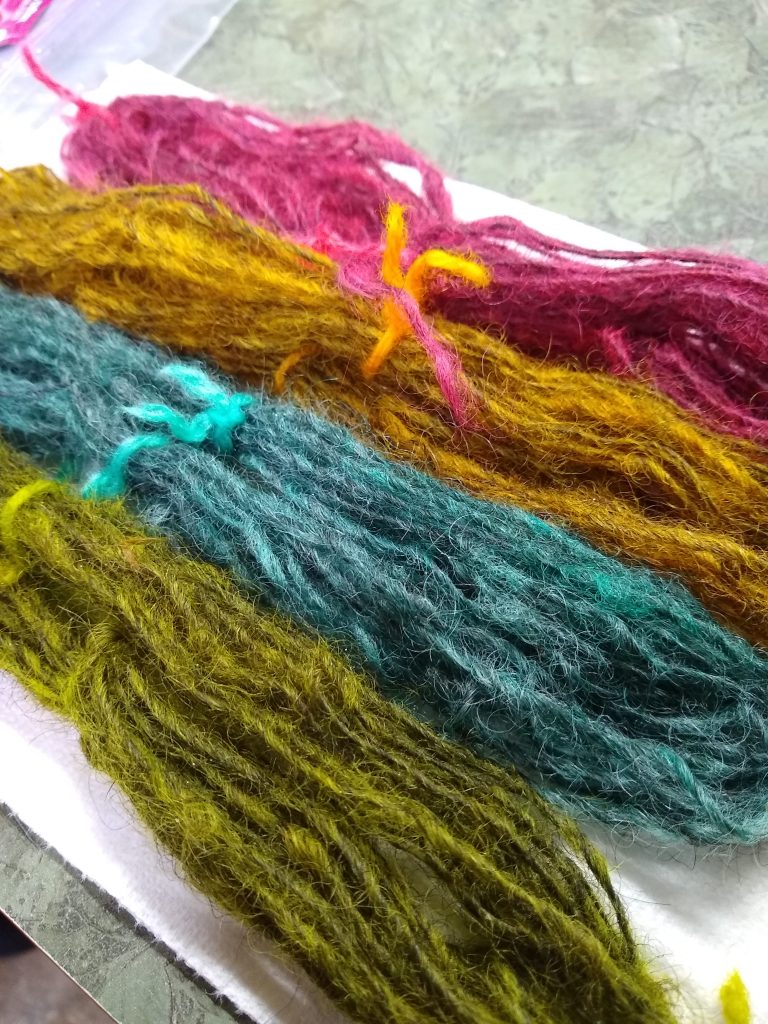
Talk about instant gratification! The colors are so deep and intense on her steely grey shades. I just love the effect. You can see in the photo below how the colors look on the white yarn I’d used to tie the skeins for comparison.
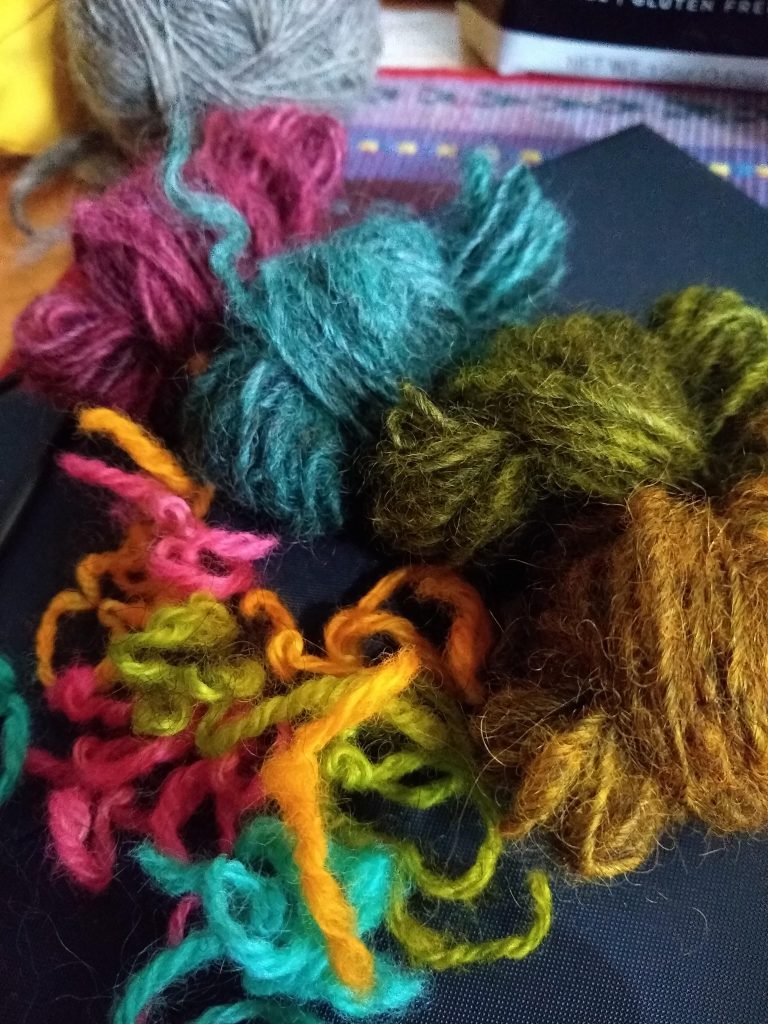
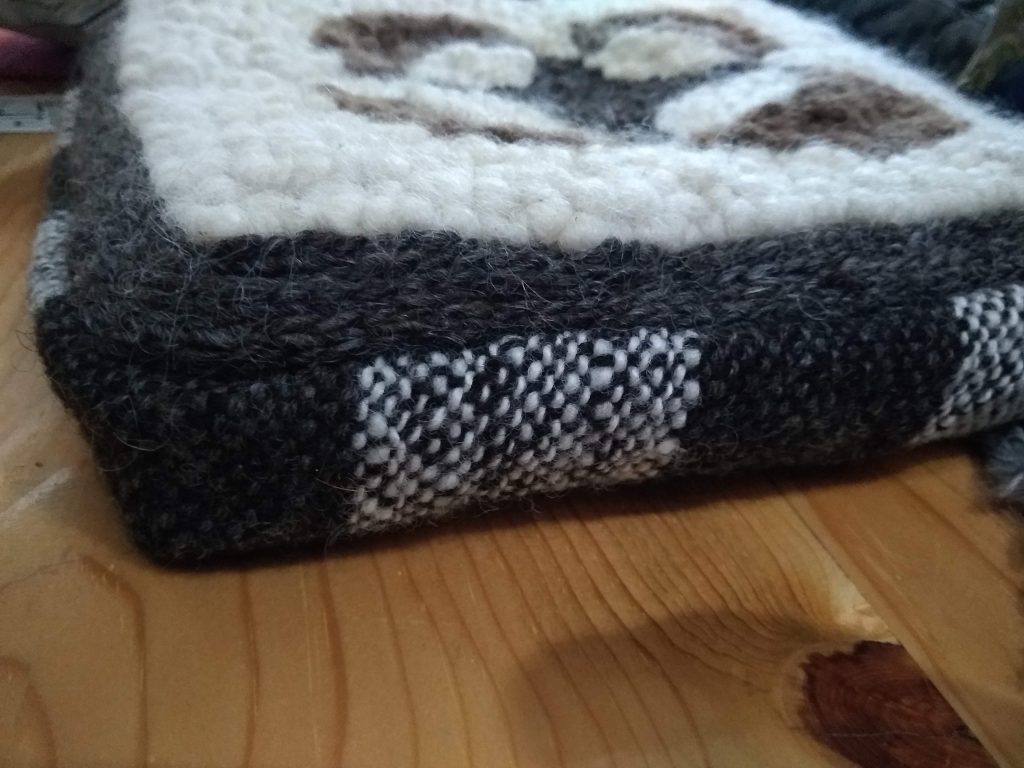
Now I’m thinking about going all in on color for the sweater project. Not stranded this time- just stripes, to keep the fabric really light. Swatching quickly ensued.

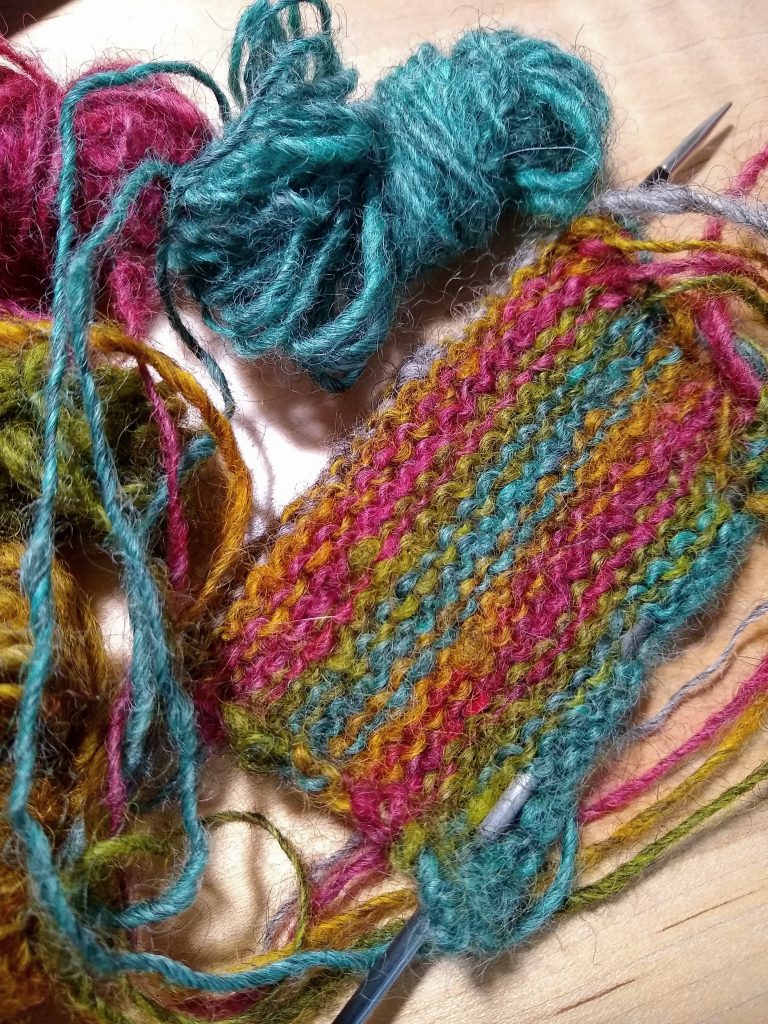
I love the interplay of the colors on the purl side. This might end up being an inside-out sweater.
So many questions tho- how to organize the colors? use the dark grey as the base, or just revel in the flashiness? To be continued-
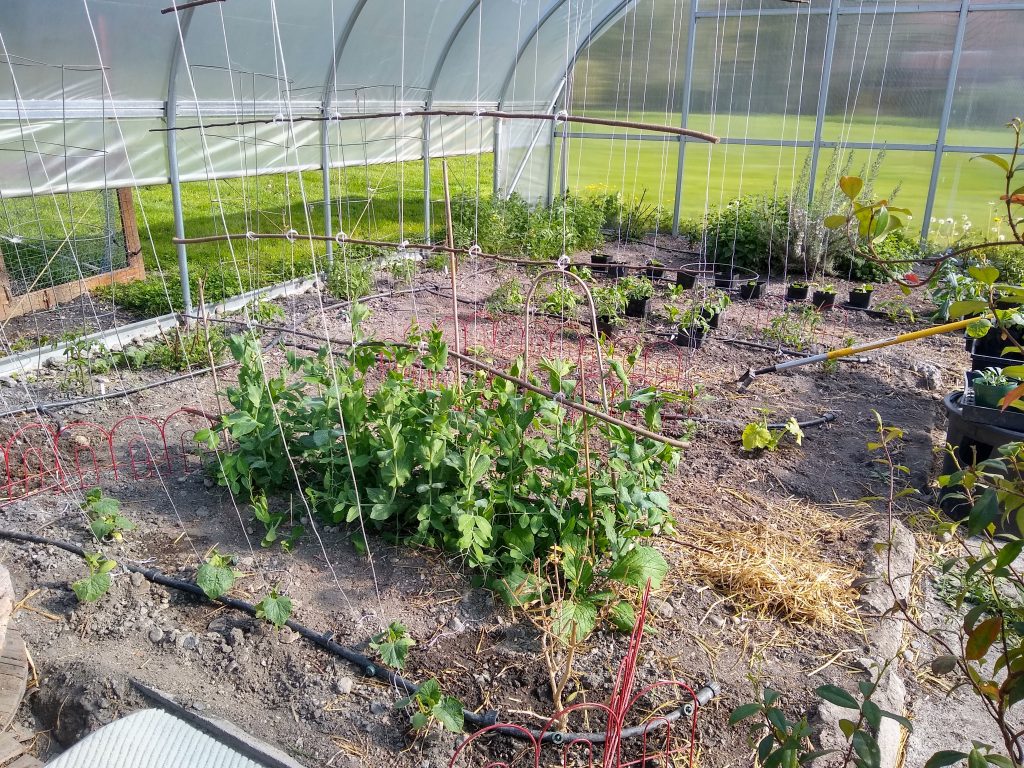
Out in the hoophouse, I’ve got tomatoes, melons, cukes and eggplants in the ground.
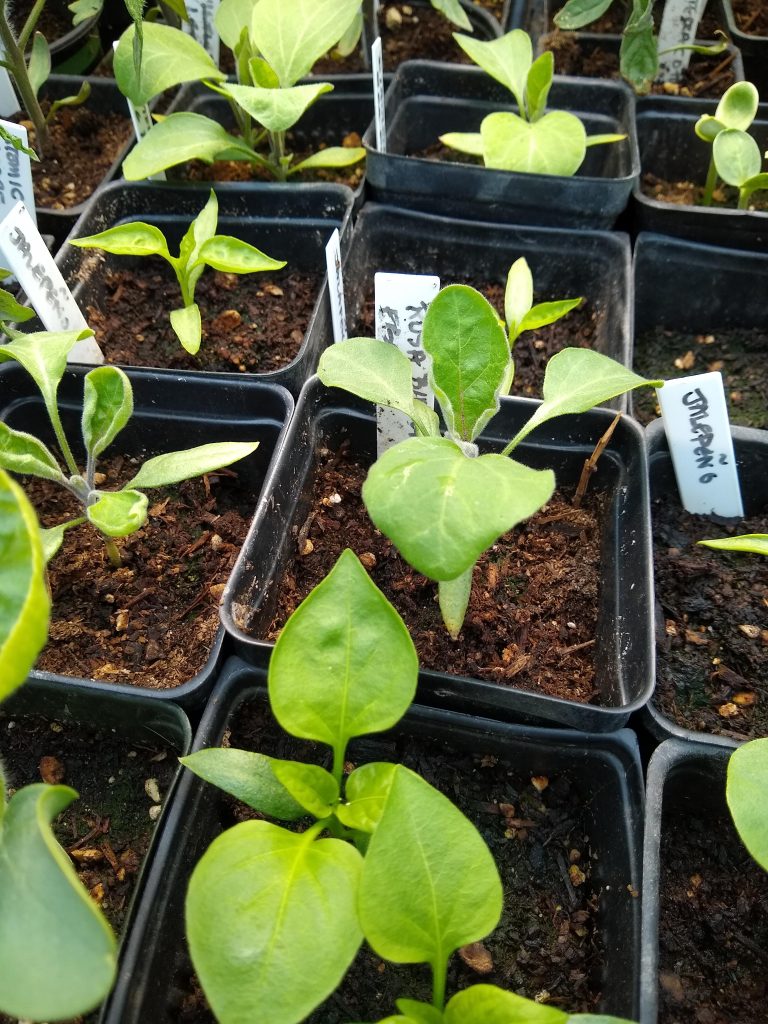
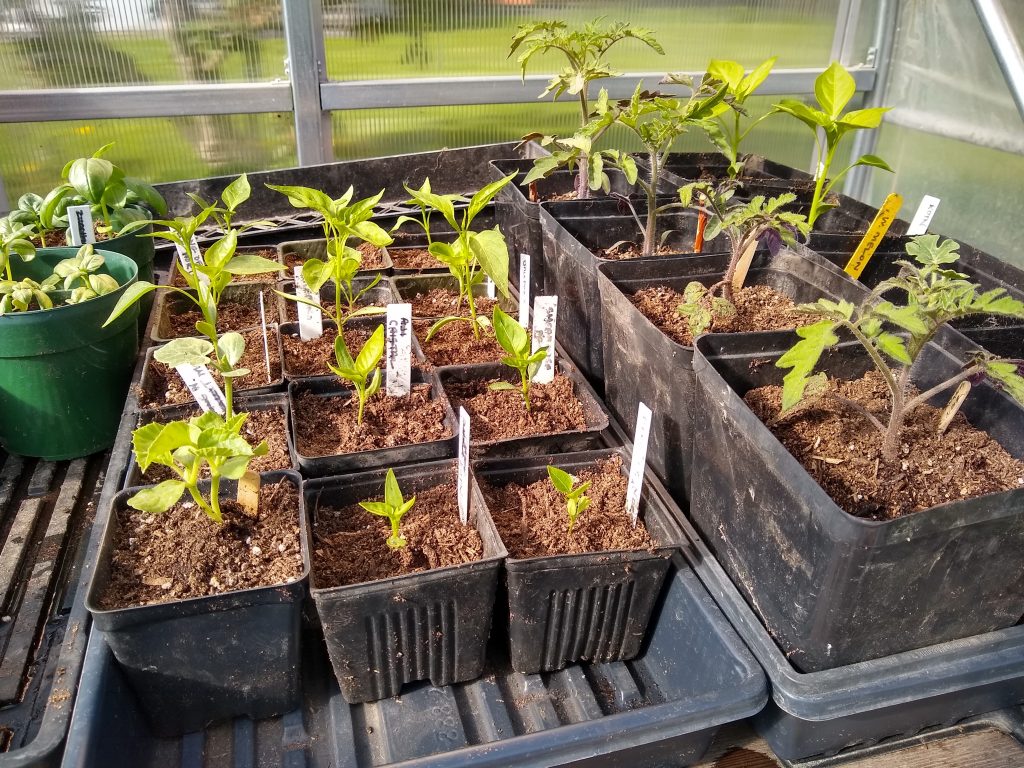
Still holding the peppers on heat, giving them a little more time to gain in size before they get planted out. But everyone is repotted and making good progress
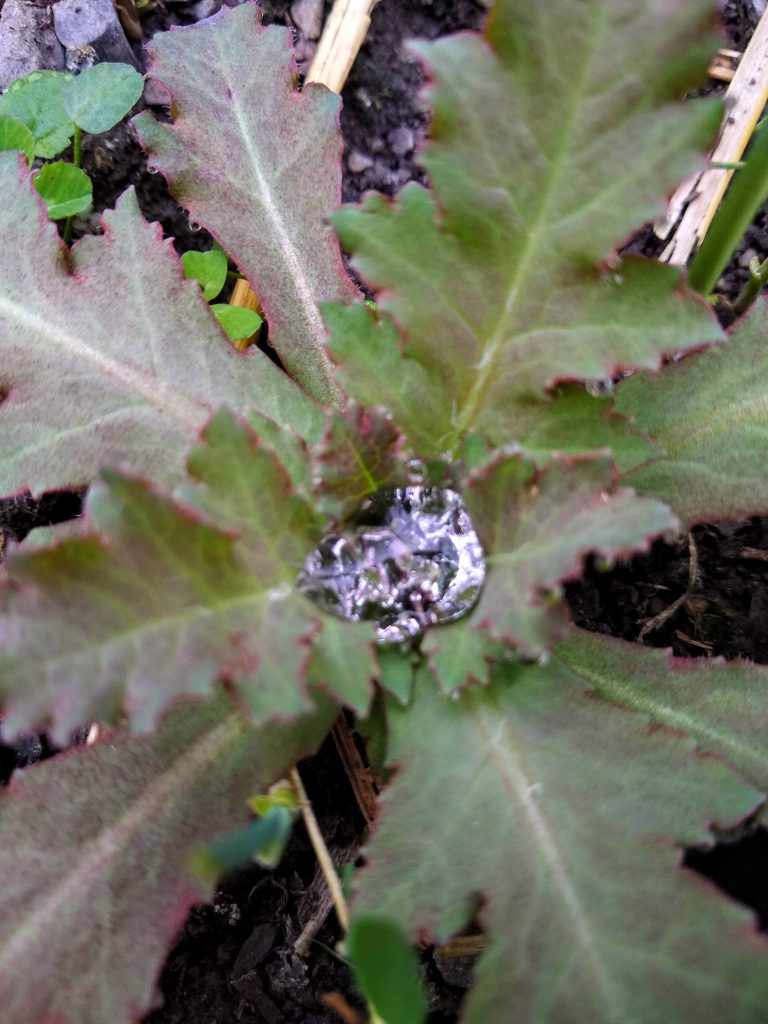
With fewer tomato plants overall this year, I had a little extra space and thought I’d see if our would zucchini benefit from a more controlled environment this year (away from slug pressure).

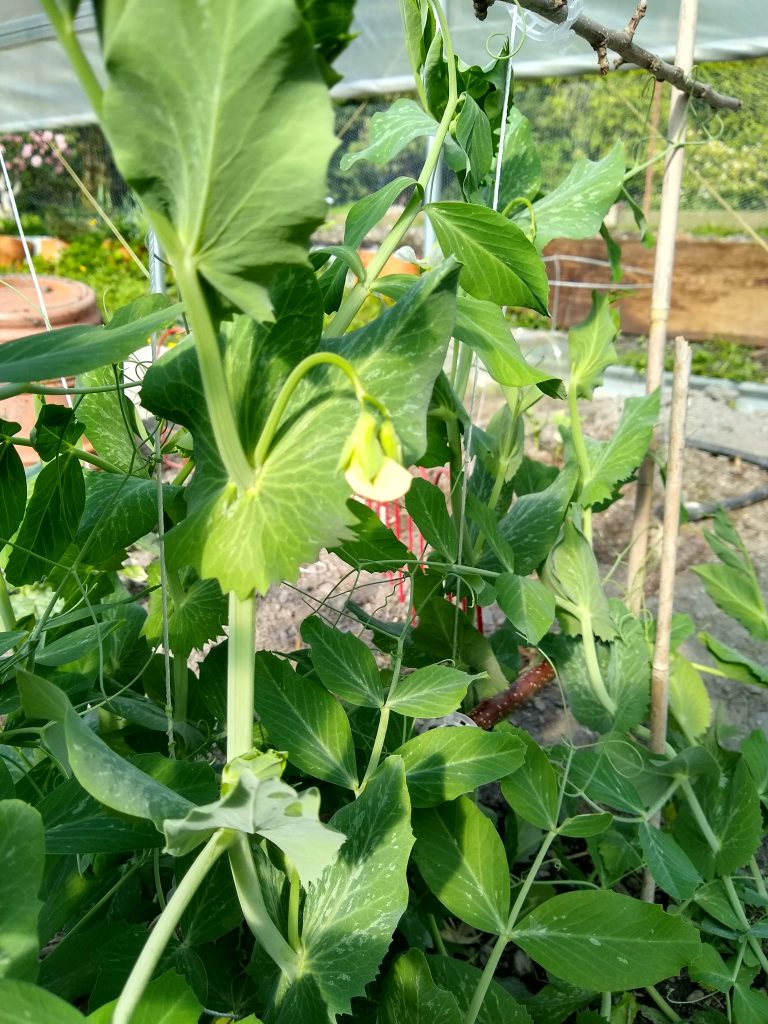
Also, peas are starting to flower- so hopefully not too long til we’re rolling in sugar snaps! Woot!
Have a great week folks 🙂