Author: denisemor

Darn It! (Again) or, The Tiniest Loom

Look what I got in the mail the other day!

If you’ve not seen anything quite like it before, it is a “SpeedWeve” type darning loom. With this little guy, you can weave a patch in place right over a hole or a tear in fabric.

So yesterday I dove in gave it a try. Here is the basic procedure:

Find yourself a hole of suitable size
Center the hole on the wooden disc and secure with rubber band
Attach the loom to the disc using second rubber band
Run the warp threads , anchoring them in the fabric beneath the hole and looping them through hooks above
Laying in the weft, tacking each row to the fabric beneath at the edges. Note that the hooks create a shed in the warp when they are flipped from side to side using the little tabs above
Weft all filled in!
wider view of my work site, with helpers Gus and Yellow Chig
panning to the right, Boo Kitten enjoying a hoophouse nap 🙂
Loom removed
top loops stitched down
view from the back
ends tucked in

And there you go! How cool is that?

Love this tiny loom. Such a clever design 🙂

Oh- and since it’s Easter, I thought I’d share some beautiful (naturally) colored eggs

I especially love the rosy brown of the eggs the new little Amberlink girls are laying. So pretty. Happy Spring everyone! 🙂

Garden Planning and Progress

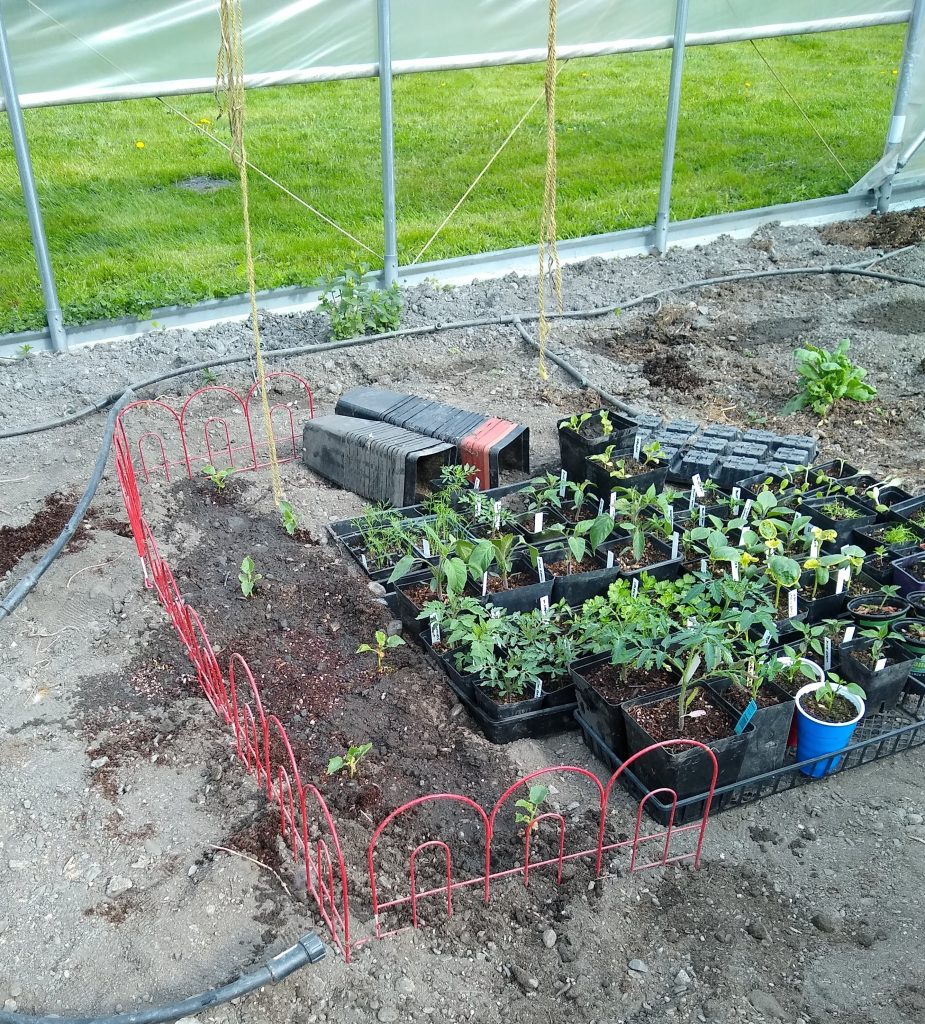
Hey hey hey! Seed starting is underway! 🙂

3/23 I planted tomatoes (3 varieties) , cukes, broccoli, melons(!), okra, bell peppers, oregano, basil, anise hyssop, and coleus.

They are on heating mats in the hoophouse, and I’ve been covering them with an additional sheet of light plastic overnight. Most of the seed packages indicated germination times of at least 7 days, so I didn’t expect to see any activity this soon, but check it out-

okra, cukes and melons popping
oregano and broccoli
and even some precocious little tomatoes!

That has me really excited. I’ve decided that I’ll be growing my two types of indeterminate tomatoes (Brad’s Atomic Grape, and HoneyComb hybrid) vertically, using these cool clips that I learned about on YouTube (https://www.youtube.com/watch?v=GBDqskBk3lQ method demo starts at 7:37)

clip on twine like so-

I’ve got one determinate variety (Principe Borghese, a roma type) and those will probably go in cages, but not sure yet. (Kind of nervous about having wire tomato cages in proximity to hoophouse plastic…..)

The Man got me a big ole bag of clips, so I think I’m going to try the same method with cucumbers and melons (with nylon slings to support melon fruits). In this way, I’ll be able to make the most of the square footage of the soil space in the hoophouse, and hopefully underplant the trellised things with herbs and flowers.

And here are those feed bags I mentioned last week, newly planted with French fingerling and Yukon Gold potatoes.

Feels good to see the plan coming together.

Bring on the Spring

It may be cold and rainy day outside,

But it is a bit spring-y-er in the hoophouse 🙂

Starting to get it all outfitted- moved in my potting bench-

And The Man has fashioned a couple of other work tables out of reclaimed lumber. Really mice and solid.

Hoping to start with the seed sowing by next weekend

And am also putting a plan together for how I’m going to us the planting space inside. Thinking of trellising tomatoes, cukes, and melons to make best use of the square footage.

Also hit upon a neat idea for growing potatoes just the other day- using chicken food bags as grow bags https://the-chicken-chick.com/tater-totes-feed-bag-potato-patch/ So I think we’re going to give that a go this year.

On other fronts, baby chickens are just over three weeks old and entering their “scruffy-looking” stage

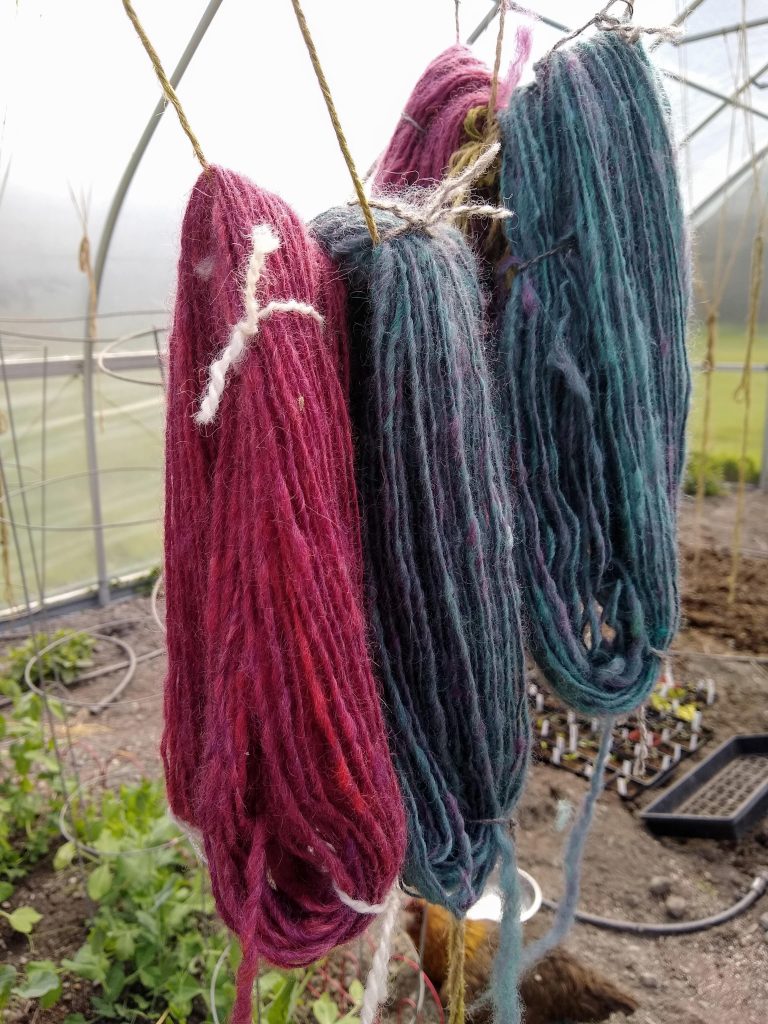
And my mountain of Felix rolags has finally completed its transition to about 500 yards of fairly fine two-ply yarn

Will be setting aside this batch for dyeing later on this year- building up my color palette for fairisle projects.

Can hardly wait for good dyeing weather!

Poly On, Wayne!

Poly On, Garth! 🙂

Big day yesterday! Took advantage of the the beautiful, spring-like weather to do the poly pull. There isn’t much in the way of in-progress documentation because it was just the two of us which is probably the absolute minimum number of hands it takes to get this bit done. But here was the setup at the start

And the technique we used is demonstrated in this video from Tunnel Vision Hoops, the folks we purchased our kit from.

It all went pretty smoothly, except for a couple of fraught minutes when the wind kicked up. But we kept ahold of everything and managed to get it pretty well square and taut.

Still have the east-facing rollup side to do sometime today, and the north end vent, but current mood is