Yesterday was beautiful. So sunny I think I got a little bit of a burn.
Today not so much.
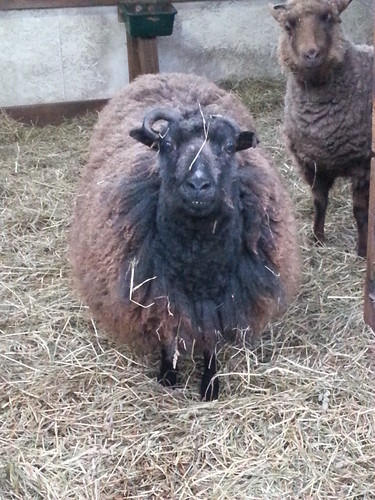
But the icky weather did provide me with an opportunity to get some shearing done. The boys were hanging in the shed to get out of the heavy rain, and I jumped at the chance to relieve them of their fleeces!
Frank and Griff were not exactly thrilled to be getting the beautyshop treatment (even with lots of rubs), but were pretty cooperative once I got the halter on them.
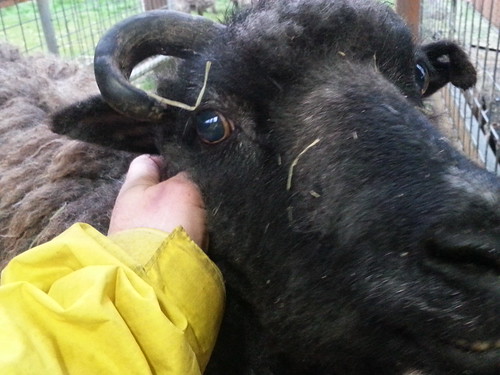
Felix was kind of a bugger, and the quality of his haircut reflects that. He just wouldn’t let me get that last bit of scraggly wool off his rear end. So he gets to walk around looking really silly and unkempt for a bit.
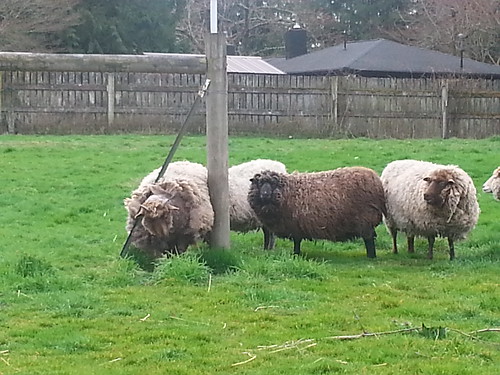
Felix and Frank were quite felted again. But Griff’s was awesome. Crimpy and fluffy and massive. Man, that boy grows a lot of wool!
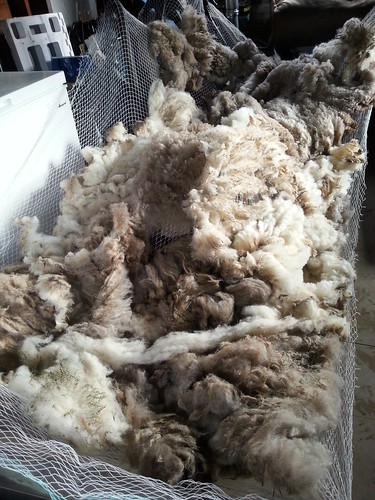
Here is the wool take (after skirting out the positiveley not useable stuff) drying in the shop.
And Friday I got to help out with shearing over at Schoonover Farm. It is always so neat to see Eifion Morgan work, and I brought home a lovely little fleece from Wynette, a sweet little Gotland/Finn/Shetland girl. Here she is being sheared-

and here is the woolly goodness.
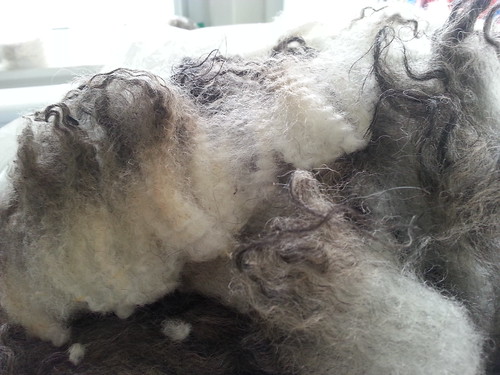
Part white, part black, part steely grey. Fine and soft, with a bit of Gotland sheen. Going to be so fun to play with!