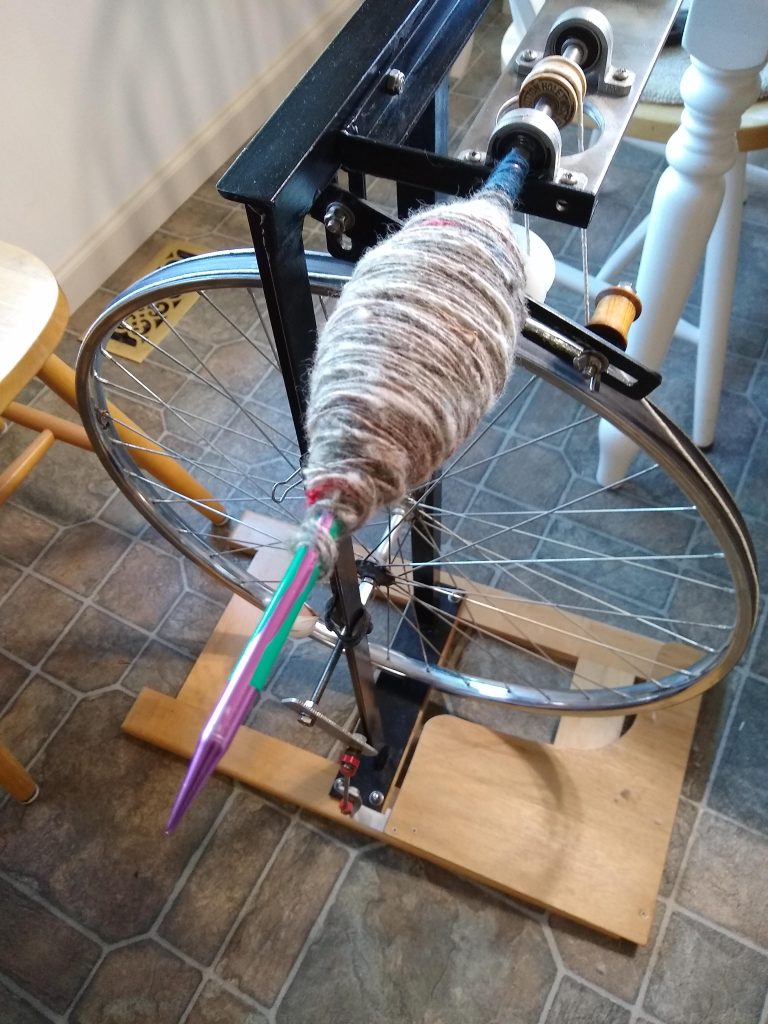
If you’re a longer-term reader of the blog, you might remember back in 2014 when I modified my lateral treadle spinning wheel by fixing a knitting needle in the orifice of the flyer to make it operate as a spindle wheel.
Since The Man built Moto, my electric spinner, to use the same flyer the lateral treadle wheel hasn’t been seeing as much use as it required swapping the flyer out from one machine to the other.
I’d been thinking for a while that it might be nice to have the lateral treadle wheel be a dedicated spindle spinner. Not having to drive the whole flyer would mean less resistance/easier treadling, and potentially higher ratios if we used a smaller whorl. I recently brought the idea to The Man that we might design a permanent spindle attachment for the wheel.
And so, I give you Spindle Wheel mod V2!

With the new assembly in place, I think that it’s working at about a 25:1 ratio. It’s quite comfortable for long draw. Been practicing with some random carded fleece bits and trying to get my Rio Grande Flip technique back, but so far, I’ve had the best luck spinning and then winding on like you would with a walking wheel.
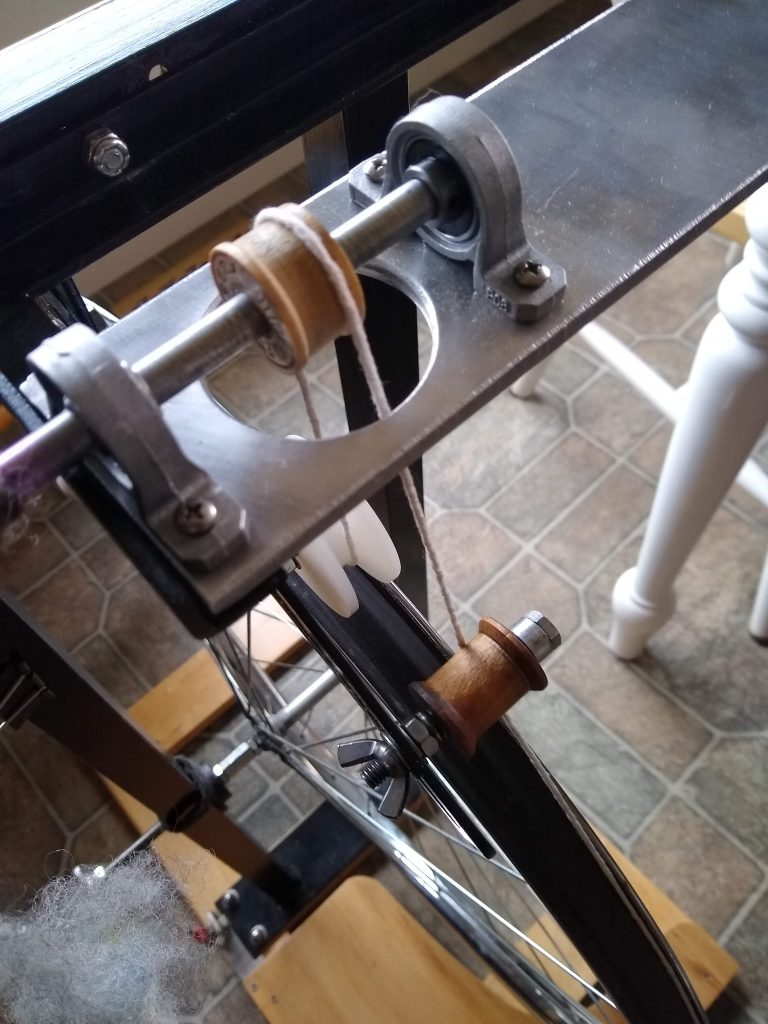
Here’s a closer look at the new spinning head

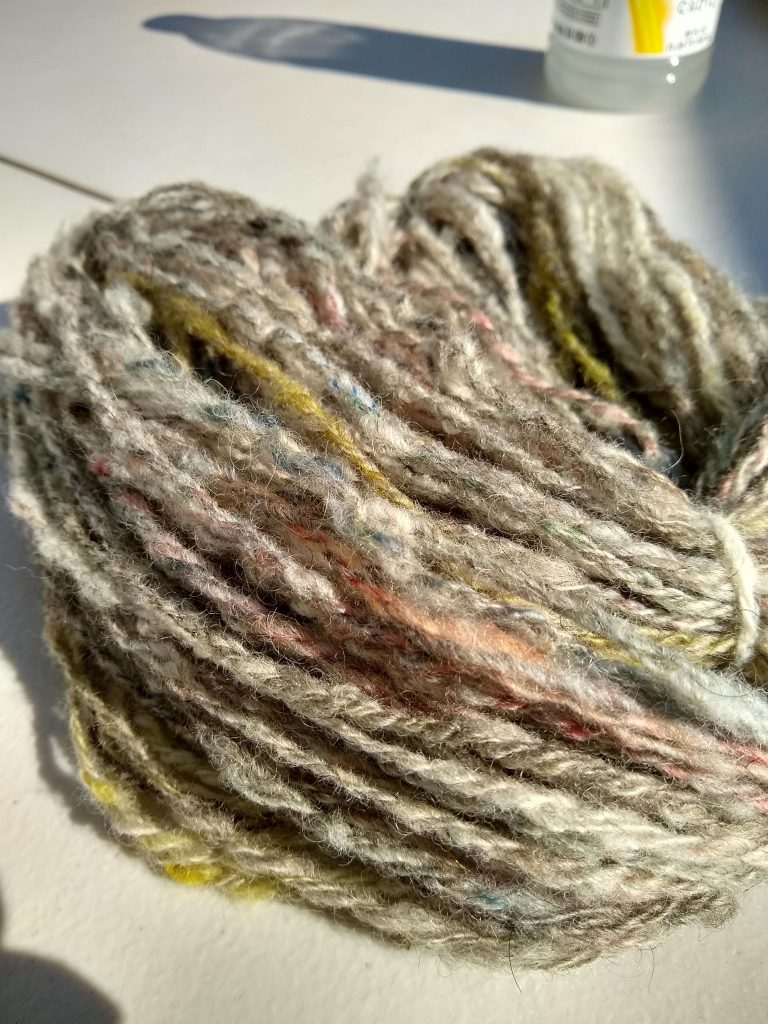
and here is the sample yarn chain plied up (on Moto). Soft and squishy woolen-spun goodness 🙂

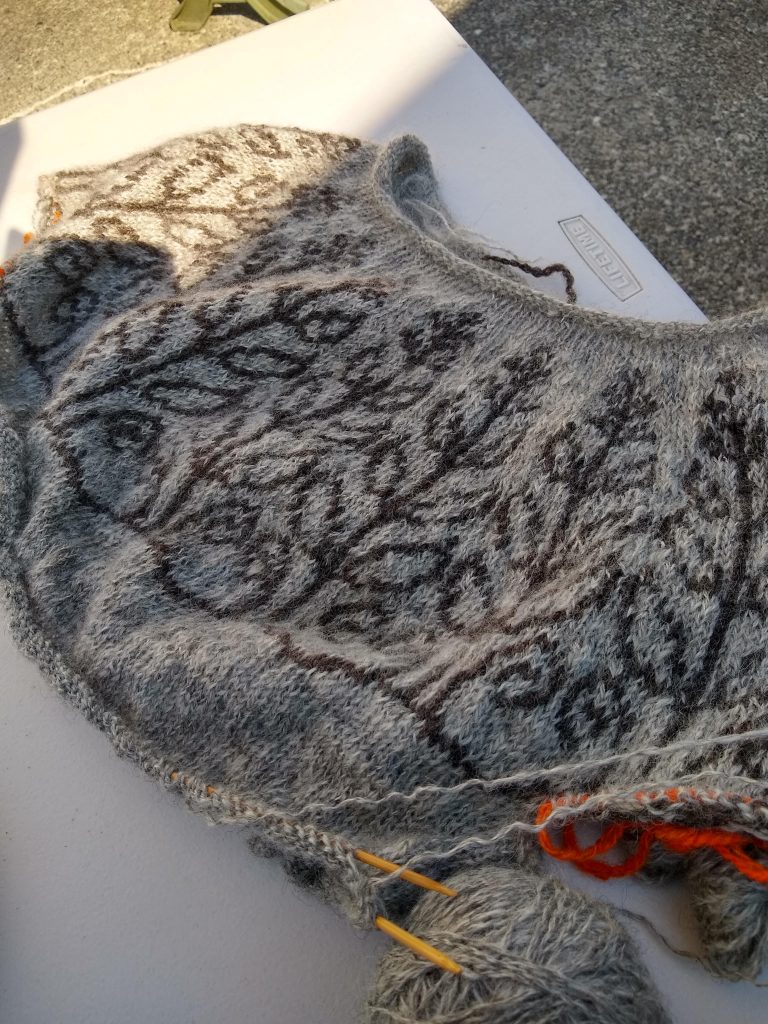
In knitting news, progress continues on Marjolaine, despite a brief setback earlier in the week.

After completing and blocking the yoke, things looked good, so I just continued on according to the pattern, casting on underarm stitches and knitting the body. But it kind of felt like maybe there was too much fabric.
A quick try on about 3 in inches down confirmed my suspicions. Seemed like it was kind of flaring out, when I needed it to be slightly tapering. Thankfully, I’d left in a lifeline at the last charted row. So I ripped back and started again with a new plan. This time I cast on only 10 new stitches under each arm (rather than 18) and decreased 1 stitch per pattern repeat around the yoke twice, three rows apart (-22 stitches). Once that was complete I started waist shaping, decreasing 4 stitches every 6 rows.
Just did another try-on, and it looks like I’m on the right track. So glad I ripped back when I did. 🙂
