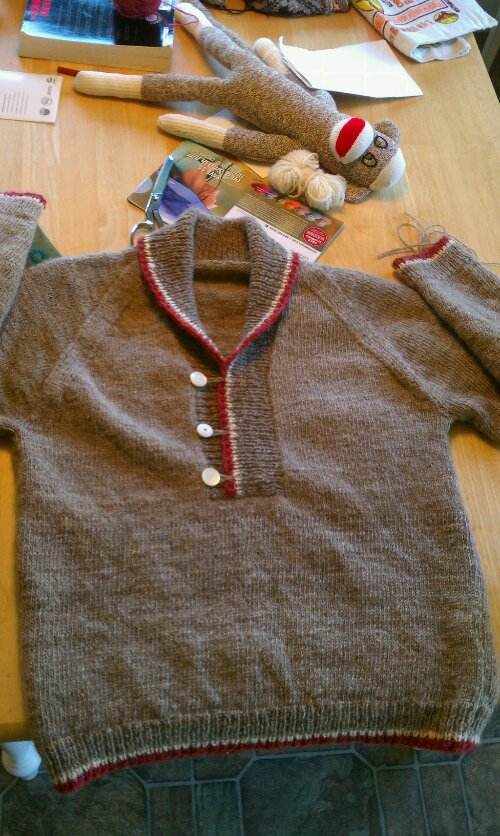
I am very pleased to report that the surgery was a success, and the patient is resting comfortably on my cedar chest 🙂
Here is the photo documentary of the procedure:
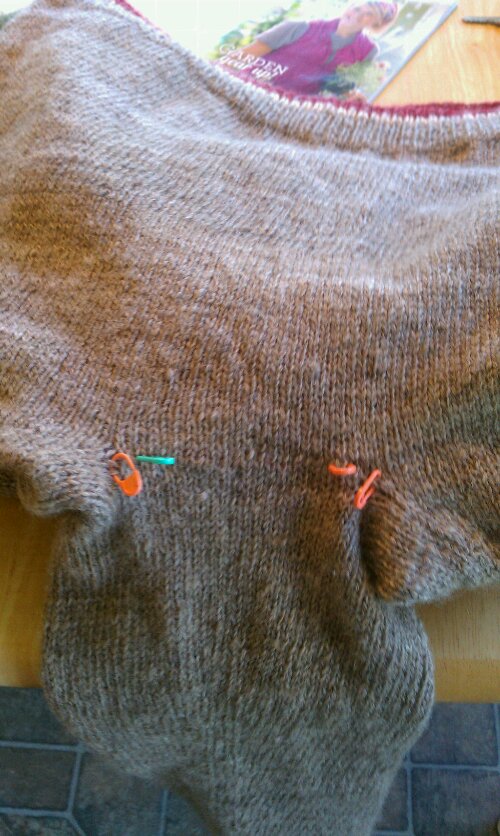
Here you see the underarm area beforehand, with stitch markers indicating the stitches to be “reduced”.
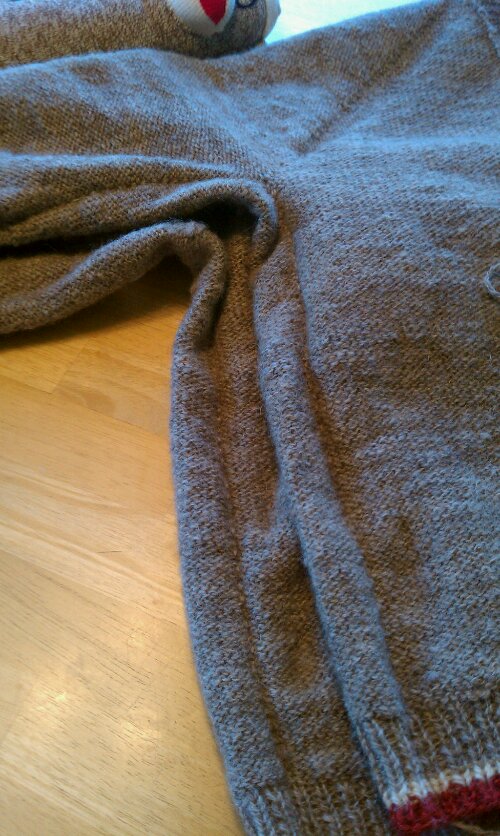
My first step was to mattress stitch the front to the back, down the columns of stitches with the markers. I worked from the underarm down, and then went back and did from the underarm to almost halfway down the sleeve.
Then, I turned the sweater inside out, and machine stitched a single row just inside the line of mattress stitch, just to make sure everything was secured.
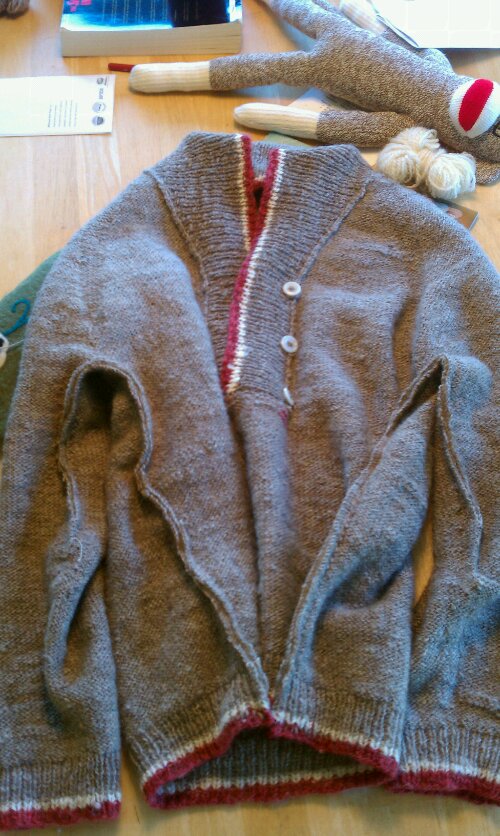
Now here’s the scary part. The cutting.
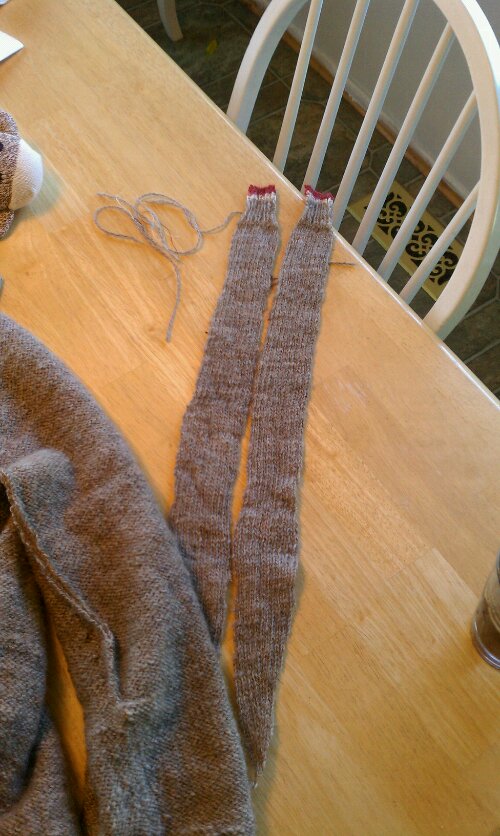
The leftover strips of excess fabric are about 2 inches side each, and I figure with seam allowances and all, I trimmed the width down by about 6 inches total.
Don’t have a picture of me in it yet, but the fit is so much better!


I see so you tapered the sleeve a bit as well. I was wondering what you were going to do once you got to the underarm. Very instructional indeed! Congrats!
Glad surgery was a success!
Thanks for this post, Denise! You have no idea how timely it is for me. I did a variation of the “Brigid” sweater recently, and the upper sleeves turned out waaay too wide. Body is a bit wide, too. So this answers the question of how to fix it. Thanks so much!
Yvonne from Spindrifters
glad to be of help! by “Brigid” do you mean Alice Starmore’s St. Brigid? I’ve always loved that pattern-
Brilliant!