Felix-
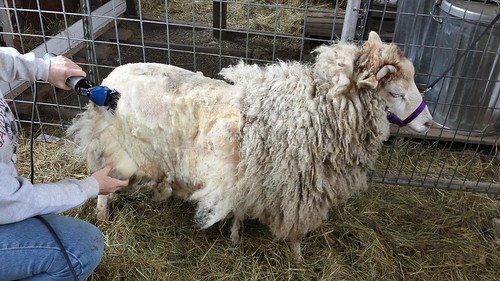
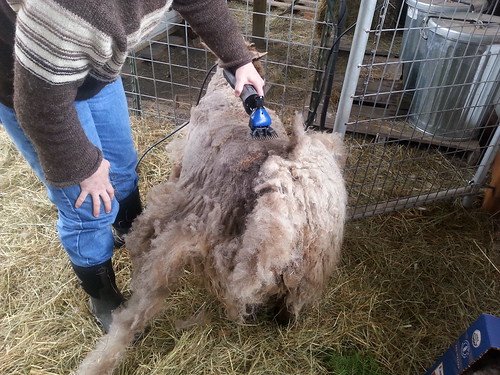
Griff, who is normally very gentlemanly once you lay hands on him, was a total bugger. Really didn’t want to give up the winter coat.
But in the end we prevailed.
and Frank.
Sorry, didn’t get any pictures of Frank.
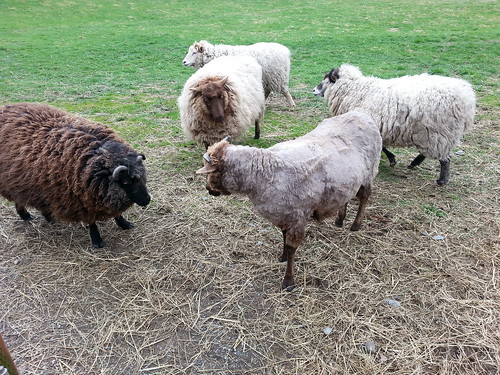
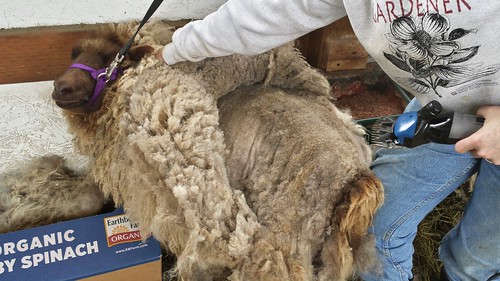
Frank and Felix were both pretty felted, but somehow on Frank’s back there was a lot of dirt and grit. Like someone had poured a bunch of builders sand on him. Trying hard to imagine how it got there.
We also did CDT vaccines, dewormer, and hoof trimming. So it was a pretty busy morning.
And when it was all over, we played ball-
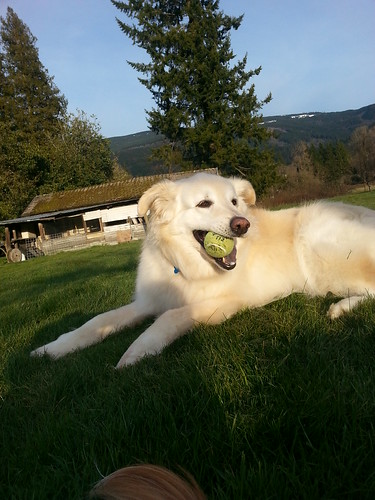
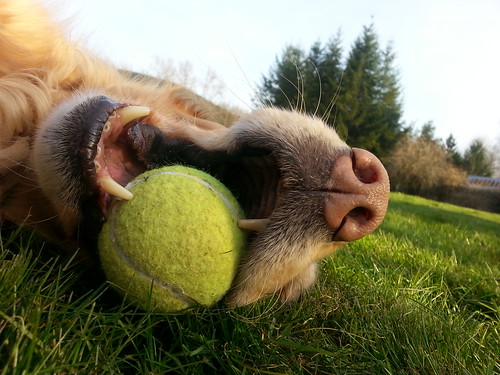
Ah, the pups do love a little fetch.
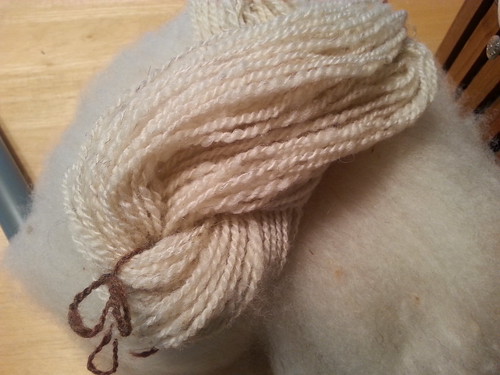
Oh hey- and Friday I was over at Schoonover Farm for their spring shearing.
It was a great time, as usual, and I came away from it with a lovely fleece from Rueben, a 15 year old wether.
Check it out:
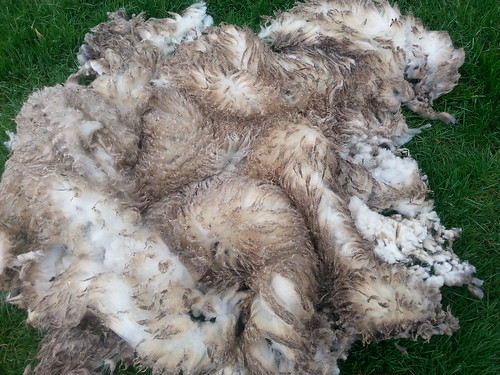
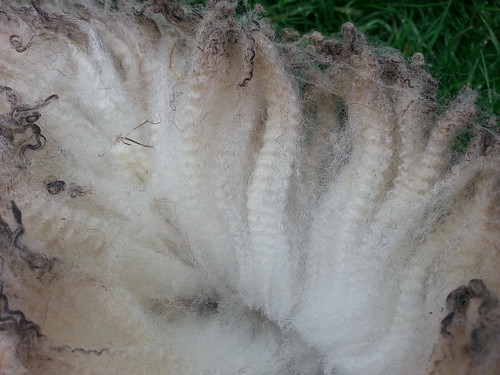
Lookin’ pretty good for an older gentleman, eh?